Friday, 25 January 2013

January Projects

I've been trying to find ways of having a few projects on the go so I can work on them for a few minutes at a time where possible. A few months ago, I posted on the Felting and Fiber Studio site about a couple of felt pieces I'd made with the intention of practising stitches for the Take A Stitch Tuesday challenge. I didn't keep up with the challenge, so had the pieces spare. I decided to add some stitching to the first piece. This is how it looked originally. I started by machine stitching around the patches of colour.


Over the next couple of days, I added some hand stitched straight stitches, first in in yellow and then added some in orange.


Another project I got started on this week is a white texture felt piece. Liz from That Fuzzy Feeling blog, recently made a gorgeous piece of texture felt and it inspired me to make one. I decided to make a natural white one, so I got to play with (and smell!) my collection of wool, alpaca and mohair locks. They are mostly unwashed so my hands felt really nice afterwards.


The first day I managed to get as far as laying it out and sewing up around the edges. So far, I've managed to add the stitches from the top to the bottom.


Thanks to Ruth for encouraging us to find ways to fit in a few minutes of fibre time each day, I've managed to get a lot more done this week than I otherwise would have. It might not be much each day, but before long, it all adds up to finished projects I wouldn't have had without the challenge :)  Ruth's been blogging about her Daily Dose of Fibre, check out her blog for her gorgeous bead books, stitched fused fabric, and more.

Wednesday, 23 January 2013

Finishing Projects

I’ve been trying hard with Ruth’s Daily Dose of Fiber challenge, but so far that mostly consists of me rewriting the same list each day :)    I have managed to complete a few projects recently though. The first one was a small shoulder bag I started a while ago when I was using my felt offcuts. I think these kinds of bags are known as ‘passport bags’, it’s big enough to fit a camera and coin purse in. I had some nice fabric that I salvaged from a worn out camera bag, so I used this on the inside flap. It might look familiar because I took photos of the magnetic closures for a post not so long ago.
 
I covered over the tops of the magnetic closures with felt--craft felt on the inside and a nuno felt offcut for the front, before sewing the sides together--that’s usually something I’d forget to do! 


Once it was all sewn up, I finished around the edges with blanket stitch in the same maroon colour I’d used for sewing. Another project I finished recently was a felt placemat. I made the felt sometime last year and used a piece to make a mirror case, and cut out the placemat, but I never got around to blanket stitching the edges, so one day last week when there was about 30 minutes of light, I finished it off.


The last project I managed to complete this week was a set of two coasters for by the kettle. I used a plain piece of felt and cut an 11 x 7 inch rectangle, and a square roughly 6 x 6 inches. I zig-zag stitched around the edges then did random straight stitching, first one way, then the other. This thickened up the felt and because I wasn’t aiming for neatness, I didn’t need to concentrate hard or strain my eyes :)


My next project is to do a wool and fibre inventory. What have you been working on lately? Have you finished any projects you had waiting for a while? Do you have a list of things you want to work on?

Sunday, 6 January 2013

Felting the Weather

On the Felting and Fiber Studio Site a few months ago, Karen Challenged us to make something depicting our weather. I didn't have chance to felt mine until New Year's day, but I took lots of photos and started looking at them and thinking how I could try to capture them in felt. I also started to make up some blends of wool and fibres to capture the colours and tones.

I didn't want to try to recreate any of the photos, just try to capture the feeling of the ever changing sky and clouds. This first piece is based on some of the sunsets here recently, they haven't been as deep or spectacular as usual, probably because it's been wet, dark and warm instead of bright and cold, but sometimes there's a little hint of peachey copper.


This is a close up of the coppery silk throwster's waste:


This next piece is based on the thick white and grey cloudy days; billowing, rolling clouds, subtley changing as they grow and float past. It is made from lots of different natural white and light grey wools blended with flax, soy fibre and bamboo for soft golden highlights. The locks are Gotland and Mohair and Bluefaced Leicester.


I love days when we get huge swirling black and grey clouds, constantly changing as they storm through the sky. These next two pieces are part of a larger one inspired by dark, cloudy days. I used carded Gotland wool for the background and laid raw Gotland locks in shades from light grey to black on top for the rolling clouds.


This last piece wasn't based on a photo I took or anything I saw out of the window, but it was inspired by many photos of the effects of the torrential rain we've had in the UK over the past 3 months (or last 9 really). A lot of the photos haven't been pretty; muddy brown water waist deep, roads and pavements broken, whole rows of houses collapsed...but there have beeen some spectacular ones of stormy, cloudy skies and stormy seas, raging rivers, and some great ones of large stormy clouds in bright blue skies reflected on miles of  flooded fields. I wish I'd downloaded the photos, but I'm not sure I could post them without infringeing copyright. This last piece is probably my favourite.


If you'd like to see some of my sky photos, they're in a set on flickr
http://www.flickr.com/photos/zedster01/sets/72157632441877866/

Wednesday, 12 December 2012

Yarny Vessel

A few years ago, I wanted to make a felted vessel for my girlfriend, I had an image in my mind of how I wanted it to be, and I wanted it to be 'perfect', so it took a few attempts, but I was finally happy.


I used two of the practice vessels to make some 'woolly vessels' by needle felting locks onto them. One of them was this white vessel. I needlefelted locks of Angora, Alpaca, Wensleydale, Bluefaced Leicester and Kid Mohair onto it, then put it through the washer to make sure the locks were secure, and because a lot of them were unwashed locks.


Another one I made was this bluey green one, it reminds me of something from under the sea or around the coast. This has dyed locks of Angora, Alpaca, Wensleydale, Devon, Bluefaced Leicester and Kid Mohair. And I used texturey wools like dyed Icelandic and scoured lambswool to secure the locks.


Around the same time, I had the idea for making a really colourful texturey vessel, by needlefelting pieces of handmade yarn and wool twists onto one of my spare practice vessels. I had quite a large stash of handmade yarn and often made wool twists for projects so thought it probably wouldn't take much longer than the other two had. I was wrong! :) It took a lot longer... about 3 years off and on. I probably could have finished it sooner, and I did have phases where I would make up twists and add them, or sit spinning yarn for a few hours then cut it into pieces when it was dry and spend a few hours needling pieces onto the vessel but it never seemed to get any closer to being done! This last weekend, not feeling well enought to tackle my half finished business plan, I decided to try my hardest to finish it. I got out all my left over yarn, stashes of wool blends and a drop spindle and set to work making a big pile of wool twists and a long length of plied yarn to cut up. I also got out my box of very thin felt offcuts and wetted and rubbed some of those to add too. I didn't want to wet the yarn and wait while it hung and dried, so after snipping it into lengths I wet and rubbed one end to 'seal' it and stop it unravelling. After needling all the pieces into the bare parts of the vessel, I finished off around the top, tidying it up and securing the loose fibres. And this is the result:


And then I put it into an old pillow case and put it in the washing machine with a normal load :)  It looked like this:


I unsquashed it and gave it a few shakes and spins, ran my fingers loosely through the twists and yarns (there's a few strips of silk and organza n there too) then sat it on a tub to dry overnight. And this is what it looks like this morning:


I know it's taken me a few years to finish it, but I kind of feel like making another one now! :)

Friday, 7 December 2012

Clasps, Closures and Fasteners

I decided to change the closure on the notebook cover I made from felt offcuts a few weeks ago. As much as I liked the button closure, I wanted something a little more secure. I had a hunt through my craft drawers and found a bag clip I’d salvaged from something I threw away (I recently discovered these are called Delrin Clips) and using some more felt offcuts, attached this instead of the button.


One of my WIPs at the moment is a small shoulder bag, just big enough for a camera and purse. The closure I’ve used on this is a metal magnetic bag clasp. They’re quite easy to use: each half comes in two parts, you need to make a small cut in the fabric, push the metal ‘prongs’ through, then add the little washer and fold the prongs in. I haven’t decided yet whether to cover the top with more felt or maybe a large fimo button.


This got me thinking about all the different kinds of claps, closures and fasteners I have. I have the usual buttons, zips, poppers/snap fasteners, hooks and eyes etc, but I also like to salvage and collect any I find cheap. I have a few sizes and shapes of Delrin clips, either salvaged from old bags or bought cheaply. The small ones in the Top left photo are slightly different than the 'usual' ones, they take a cord type of attachment rather than a flat webbing or ribbon type of fixture. Not so long ago, I saw cheap packs of dog and cat collars and leads in Poundland (like a dollar store) and couldn’t resist buying a pack, which gave me a few Delrin clips and Trigger Hooks (Top Right). I’ve managed to add to my collection of fasteners while I’ve been doing a lot of clearing out and tidying up lately. I salvaged quite a few lobster style trigger hooks, D-rings, split rings and key rings from old or broken or unwanted items (Bottom photos)


Most of the Delrin clips I have do take a flatter attachment though, so I just had to buy some nice braid for attaching them when I went to the fabric shop the other day :)  Aren't they gorgeous?!

Do you have any interesting clasps, closures or attachments? Do you have any tips for salvaging or buying them cheaply? I’d love to hear your ideas :)

Wednesday, 28 November 2012

Fibre Art Swap and a new Tutorial

Over on The Felting and Fiber Forum, we're having our first Holiday Fibre Art swap. My partner was Heather Woollove. This week, I received this gorgeous snowperson from Heather.


It's so beautifully made, and if you click to see the photo bigger you can see it has great texture with gorgeous shiny locks of wool (or maybe mohair?) I'm going to try to get an LED tea-light to put inside, so it glows at night like a huge snowman vessel :)  Ruth and Judy were each others' partners and they've both received their swaps and posted about them on their blogs. Ruth: http://ruthsfiberphotos.blogspot.co.uk/2012/11/holiday-fiber-exchange.html  Judy: http://judysfiberart.blogspot.co.uk/2012/11/felting-and-fiber-art-studio.html

I posted a tutorial on the Felting and Fiber Studio site today on how to Batch Edit photos using Photoshop. I don't know about you, but I spend too much time editing photos as it is, so this is a great way for editing a whole load of photos all at once. I'll also post a link in my Free Tutorials page at the top of this blog. If anyone has any ideas for tutorials, anything felting or fibre related, including Photoshop etc, please let us know either in comments here or on the studio site :)

Wednesday, 14 November 2012

Catch Up 2

I feel terrible for neglecting this blog so much lately. It seems like the past couple of months have been filled with endless phone calls to people in government agencies trying to get on a scheme to become self employed. It's like trying to do a jigsaw when you don't know what the picture is meant to be, it seems that  everyone I speak to knows just a very small part and doesn't really know who else I should speak to, but the bits are starting to fit together, finally! Hopefully all the hard work I've been putting into my fabrics and fibres project will amount to something worthwhile.

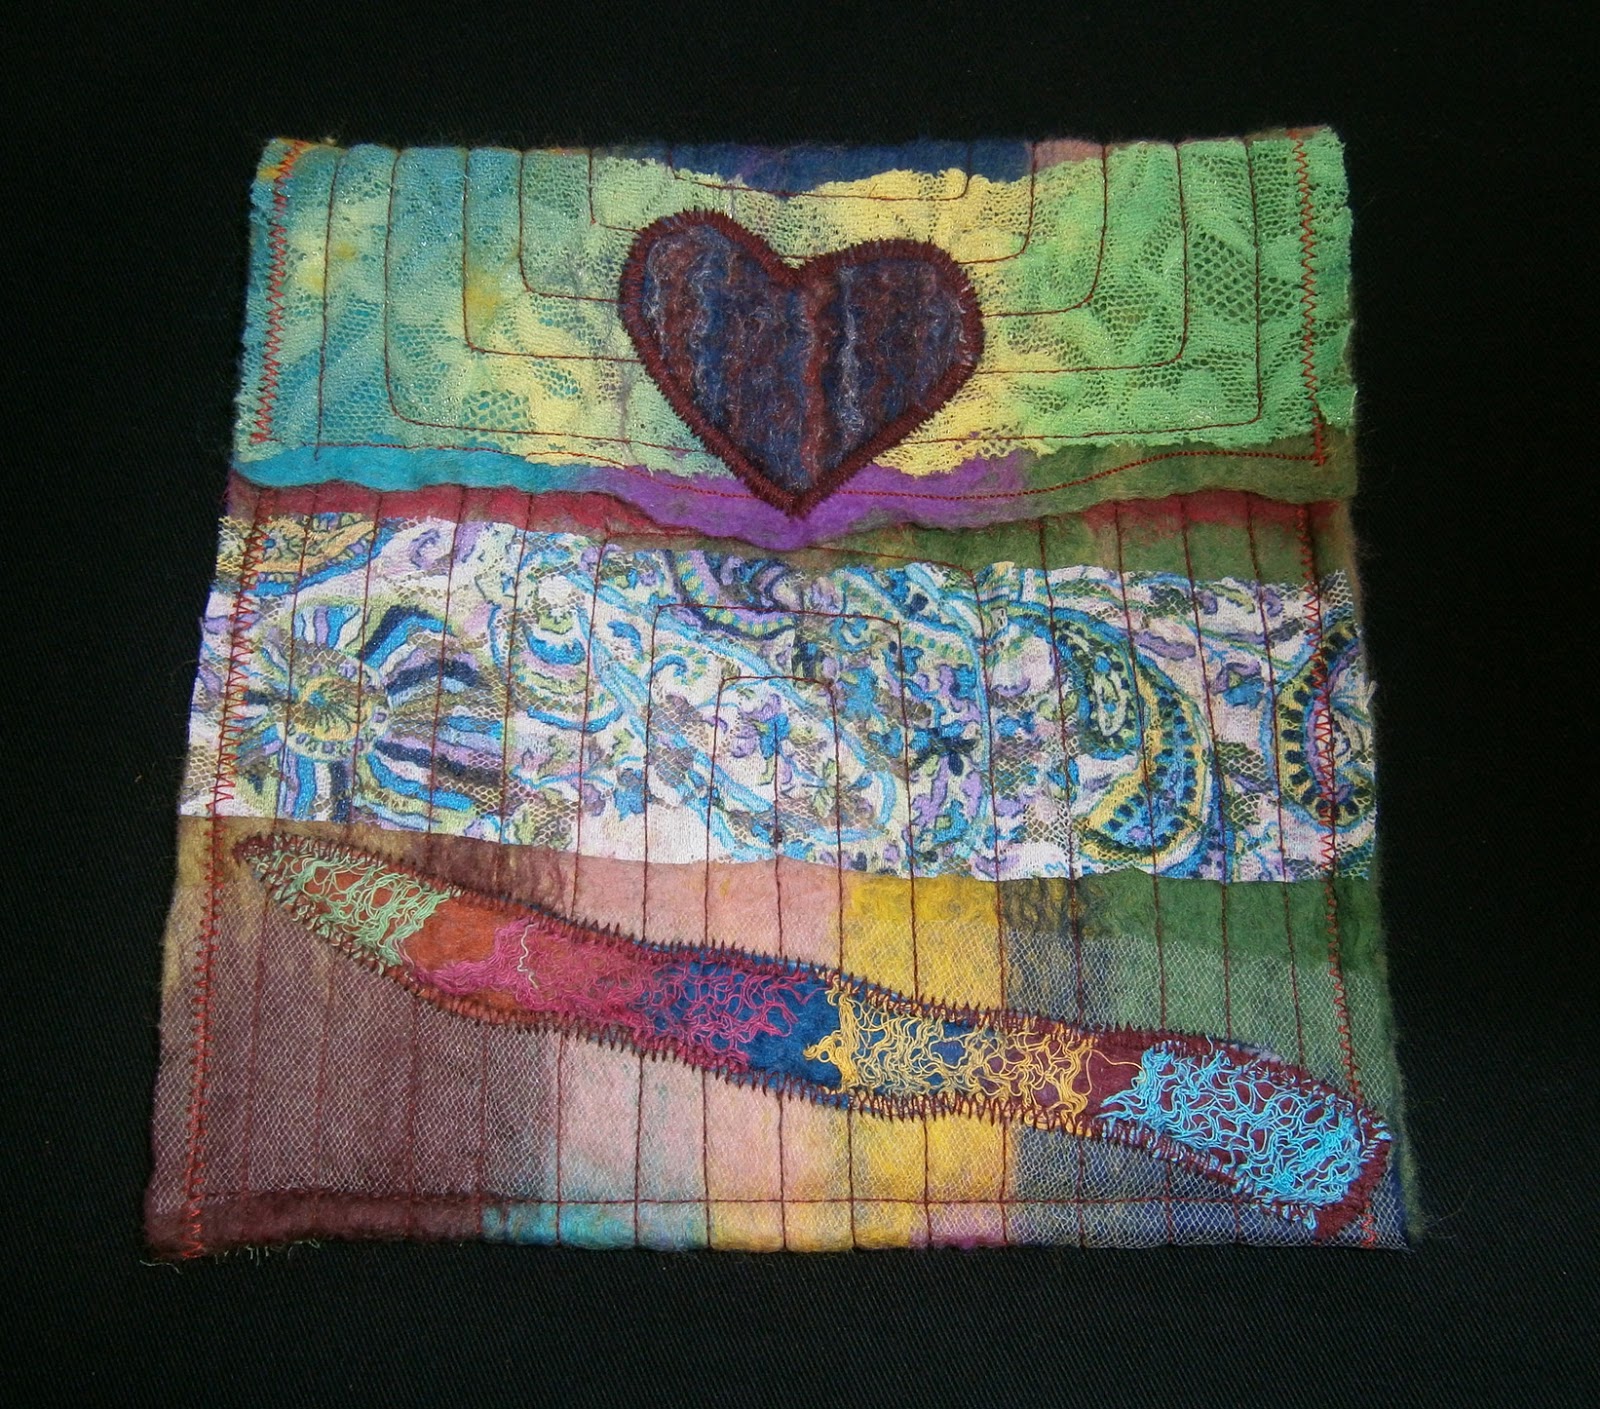
I haven't really had time for much felting, but I did get a sewing machine off my mum and have played around on that a few times. I started just by practising straight lines on a spare piece of nuno felt, then attached a few shapes with zig-zag stitch. I then folded the piece and stitched along the sides to make a small bag/pouch.


I also did some zig-zag borders on some felt offcuts to make bookmarks. I added a few felt offcuts to some of these too.


Recently I decided I needed to sort out all my felt scraps. I had two huge boxes of them, roughly sorted, but hadn't really kept up with keeping them separated or neat. I tried to organise them into lots of different piles, depending on length and width, and got some old margerine tubs and labelled them to encourage me to keep them neat!


Once they were all sorted, I went through and chose some nice pieces to make myself a collage notebook cover. I cut a piece of craft felt a bit bigger than the size I needed, then added strips and pieces of felt offcuts to it and zig-zag stitched them in place. I really like the way it came out :)


 What do you do with all your felt or fabric offcuts?