Showing posts with label felt. Show all posts

Monday, 28 March 2016

Landscapes and Nuno

Ruth did a post on The Felting and Fiber Studio just over a week ago about a landscape tutorial on the Start2 website. I hadn't come across that tutorial before and thought Ruth's paintings were brilliant, so having been stuck in a recliner for a week and half with flu, I was itching to do something creative so gave it a go. I had some thick but cheap sketchbook paper and also a variety of printer paper samples to try it on. This first one is the sktechbook paper:


And this is the textured printer paper sample:


They need flattening and cropping. I was disappointed they weren't as nice as Ruth's, but if I'd seen them before Ruth's I'm sure I'd have been more impressed :) I wish I had the artistic skills to add to them to improve them. I'm at least going to look for a white gel pen. I don't think I've mentioned Start2 here before. It's a creative well-being site which is great for activities which get your mind working and your creativity flowing in ways you might not have tried before. I did a post about it on the Studio site just before Christmas: http://feltingandfiberstudio.com/2015/12/17/creative-well-being-site/

In my last post I mentioned I hadn't had time to felt my demo piece when we did landscapes at the well-being centre. As well as the general layout, I was showing ways of using some different fibres, like cotton, nylon, plastic and even mohair for effects in the sky, and how to tease apart and fluff up texturey wools or dyed nylon for adding depth and texture. I didn't really give much thought to how it would look, just showed them all and piled them on. All I can say is, the locks look nice :)  The patch of wool and nylon on the bottom right looks like some green bodied, red headed creature looking over its own shoulder!


I took some fabric strips with me the week after for some experimenting. This is the piece I made:


I thought I'd make a bigger sample trying out more of the fabrics. Before going back to the other well being centre, I wanted to get a better idea of which fabrics attach securely and will hold up to being handled a lot, which might need some stitching to secure and which will be better for more decorative pieces. This is the whole piece:


And here are some angled photos to show better how they attached and their texture (or not in some cases), left side:


Middle pieces:


Right hand side:


I still have a few more strips I want to try, hopefully I'll get a chance later this week.

Sunday, 8 November 2015

Felting and Stitching

Apart from a couple of pieces for notebooks, and the little flowers, I haven't made much felt lately. I did stitch some felt notebook covers but it's been so foggy and dark only one of the photos came out :(  It was a cover I made from the stripey piece I showed last time though, and although both sides looked great, especially once it was trimmed to size, I went for the stripey side:


I remembered another piece I've been adding stitching to slowly over the past year or so. I don't know if you remember when I tried some prefelt sent to me by Heidi Feathers? Well, the silk I'd used on one of the pieces didn't attach in a couple of places, so I added some stitching, then a bit more, and a bit more, etc! This is it now:


This is a fairly recent piece, from within the last few months anyway. I wanted it to look 'scribbley', like layers of drawing and scribbles:


And I know I said I'd show you some of the wet felting class nuno flowers when they were made up, but none of them have been yet, but Jo did bring in one of the dry ones she worked on, so this is it layered up while she hunted for a button for the middle:


Friday, 30 October 2015

Flowers, Fimo and Felt

After the nuno flower workshop at the well-being centre last week, I thought I'd make a few flowers of my own as they don't require too much effort. They're mostly layers of cotton gauze or scrim, wisps of merino, another piece of gauze and finer wisps on top. I haven't sewn them together yet because I want to put organza on the back of some. But I did hunt through my fimo buttons to find the right ones:


I'm running low on buttons now, I don't have as wide a variety of colours as I thought, so I might have to make some more. I had a look through my fimo tiles last week too, and put some magnetic strips on a few to make fridge magnets. These are some of my favourites:


I like making the inlaid ones, they're quite easy to do, but look impressive :) If you're interested in tiles, buttons, pendants etc, I do have a very reasonably priced (cheap!) Polymer Clay e-book which shows my very simple method for making nice, even flat polymer clay. And how to do it without expensive tools, too!


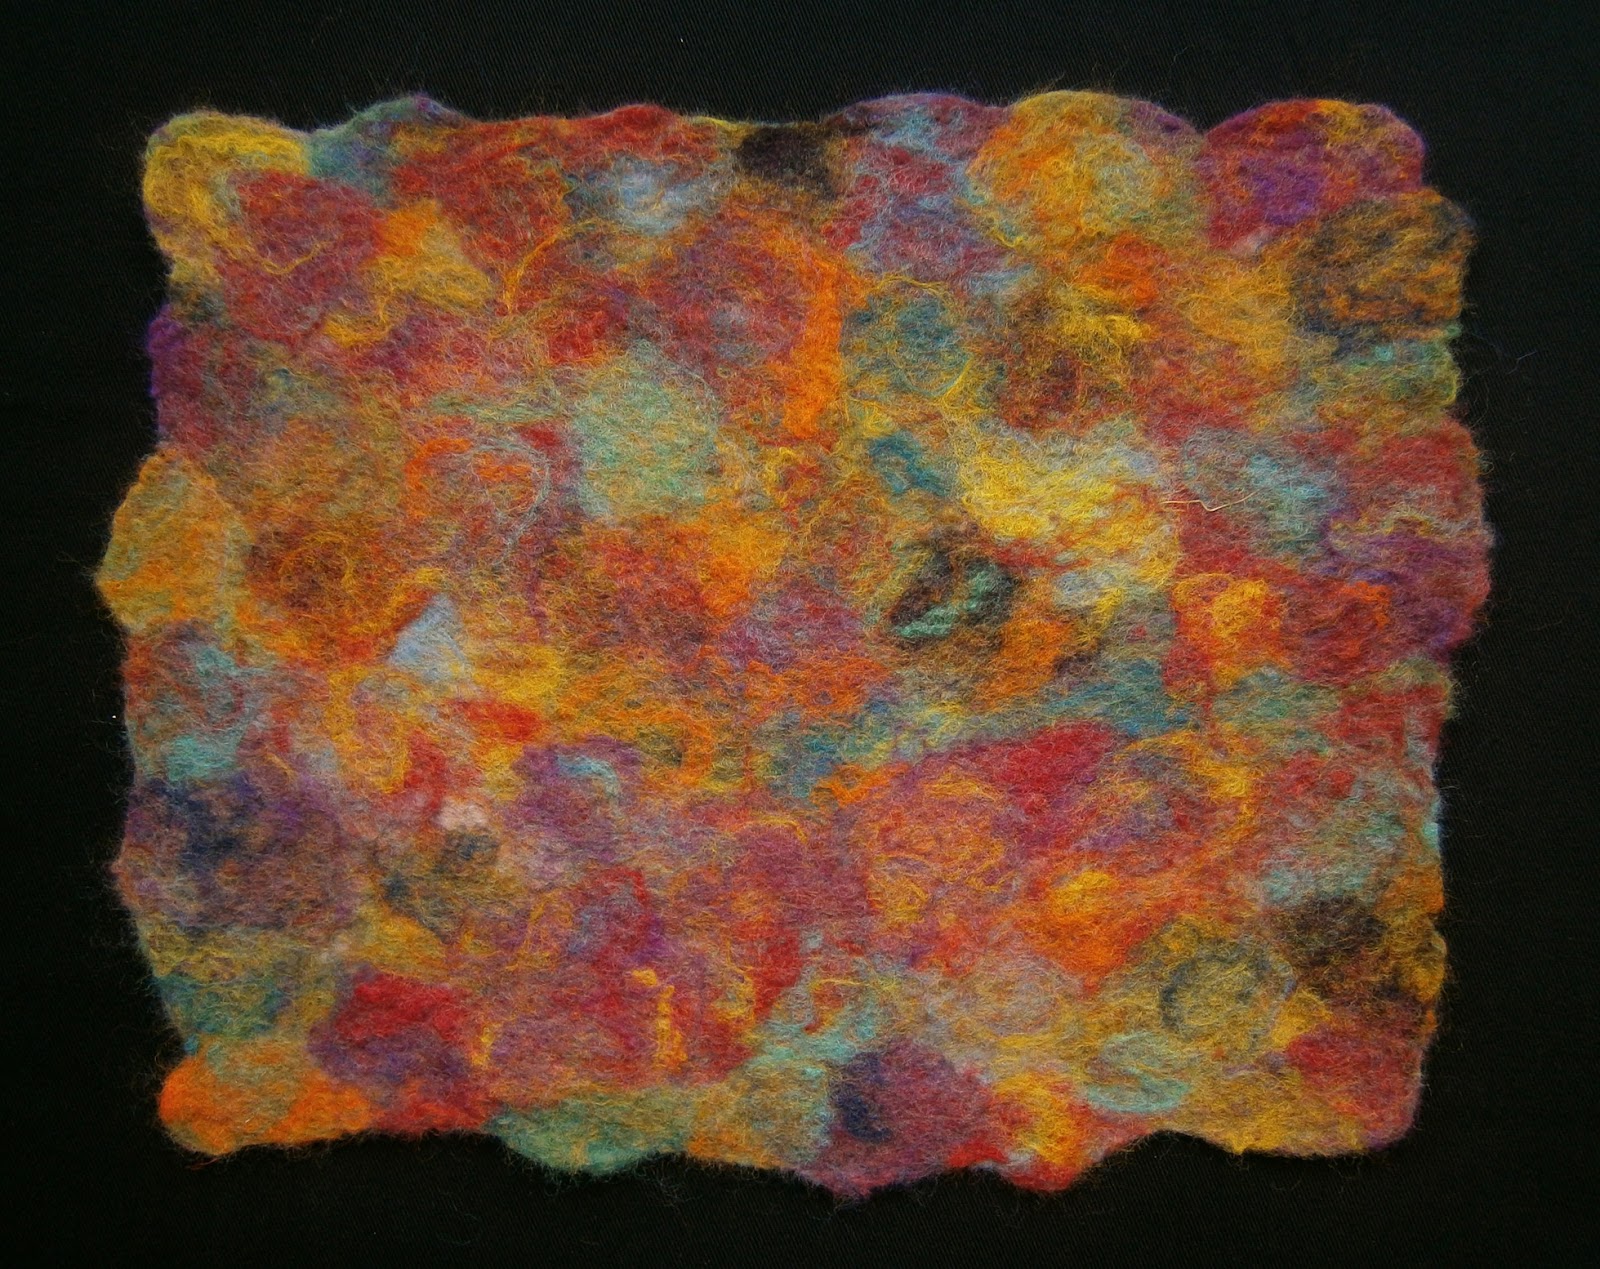
I made a bright patchy piece of felt last week, mostly Merino, but with some strips of silk and gauze:


I thought I'd go a few steps brighter and made a stripey piece with vivid merino shades and gave it some sparkle with dyed trilobal nylon, milk, viscose, rose fibre and bamboo:


 I prefer the colours on the right hand side and prefer the back even more:


Friday, 6 March 2015

Fox Sheep Wool

I ordered a lot of 'new to me' wool from wollknoll recently. I still haven't had chance to open all the bags and look at them, but I did get a chance to look at a few the other day and make some batts. One of them was listed as 'Fox Sheep wool'. I'm guessing it is 'Coburg Fox Sheep'. I ordered this as 'fleece', which comes as pieces of a carded batt. This what mine looked like:


This is a close up:


I ran some through my drum carder and made a neat batt:


I made a sample about 10 x 10" and added some black viscose tops:


On the top half I added fluffed/mussed up viscose in various thicknesses and also laid it criss-cross in a couple of places:


On the bottom half, I fanned out the viscose tops:


This is a close up of the middle on the bottom:


And this is the middle of the top:


Whenever I've used black viscose it reminds me of 'bubble painting' - mixing washing up liquid with kids' ready mix paint and bubbling it up with straws- but these middle parts remind me of seaweed :) This is a close up of a part where I lay the viscose criss cross:


This is what the whole piece looks like on the back:


I suppose a good description of it would be spongey, but it really looks 'frothy' to me!


The staple length was really short and being so springy, it wasn't easy to get a nice even felt with just a couple of layers as you can see when I hold it up to the window:


I think I should add disclaimer that I cannot be held responsible for anyone who might get a bit carried away buying wool or fibres if they click any of my links to suppliers, since Leonor from Felt Buddies accused me of being an 'enabler' ;)  I must admit though, a lot of the recent fleece I bought would be really good for needlefelt sculptures of animals. Hopefully, I'll get to try more soon and post about it.

Tuesday, 30 December 2014

Dyed Wool and Fibres

A few weeks ago, I decided to dye some wool and fibres. I used up quite a lot of my dyed texturey wools when making batts recently, so I wanted to to restock those and thought I'd do a few fibres while i was making a mess. I ended up having to do it over three days, and it made a right mess, but it was worth it in the end :) I bought some white Kent Romney lambswool to try for adding texture, I had a little bit of scoured Falkland fleece left over too so added that:


I've bought commercially dyed silk noil before, but it really isn't good compared to the small amount I dyed once, so I thought I'd give that another go:


I also dyed some Tussah Silk tops - a good tip for anyone wanting to dye small amounts of fibre tops is to separate the amount you want to dye while the tops are dry, and soak them separately, it isn't easy when they're wet!


I used the same shades to dye some Soy top as I had on the Silk, and though they look similar, they soy definitely looks a lot shinier:


Neither of them come close to the colours and shine of the Milk though, but I did do these on a separate day and they weren't the same lot of dyes:


At the last minute I decided I wanted to dye some Gotland, Teeswater and Wensleydale locks. These were all raw, unwashed, so the night before my last lot of dyeing I gave some locks a shampoo and rinse. This is the Gotland:


I do have some more stuff waiting to be photographed, some Bluefaced Leicester wool and locks, soy staple fibre and carded lambswool, I'll add those to my 'supplies' album on flickr when I get good enough light. The last one I've got for now is Trilobal Nylon (sometimes labelled as 'Firestar' and sold at exorbitant prices) cheap nylon tops. The photo hasn't really picked it up, but it has a lot of sparkle and these dyed really well:


 If anyone is interested in dyeing smallish amounts of fibres, I did a small tutorial on it a while ago: http://feltingandfiberstudio.files.wordpress.com/2011/12/direct-dyeing1.pdf  luckily this time, I had my fold out table for a larger work area!  I used acid dyes which are good for protein fibres (animal fibres, soy, milk, silk, and nylon too as it is a synthetic version of silk). I have tried it on bamboo before too and got some nice, pale results, so it's worth trying a sample or two :)   

I did a 'Year End Round Up' post on the Felting and Fiber Studio today, having a look back over things I've made this past year. What did you enjoy making this year? Come and add to our discussion on the forum.


Monday, 22 December 2014

4th Quarter Studio Challenge - Land Art

Every quarter we have a challenge on the Felting and Fiber Studio site. As December is coming to an end, I didn't think I'd ever find time to do the 4th Quarter Challenge. When I chose Land Art, I thought it had a really good scope for some interesting felt sculptures. I really liked the work of artists using twigs and branches, whether they were abstract, patterns, designed by colour, or like Tom Hare's work in willow, sculptures of plants, leaves, seeds, or even a sliced apple. I really liked this lotus seed head: http://www.tomhare.net/files/cache/6241679806767b541ec85e7977677c16_f44.jpg

I had a vague idea of what I wanted to do and how I wanted to do it. Something sculptural based on the things I'd seen with holes and stems and curves. I even thought I might do a series. Well, time was running out and I hadn't started, and I was thinking about what I could do to take part that wouldn't take as much time. For a few weeks I've had a piece of felt with a balloon inside, hanging in my living room doorway, it was the result of me thinking I'd try felting a winter woolly hat, and it ended up looking more like the start of a balaclava or fetish mask! So, I thought I'd improvise and use that. It wasn't far off the shape I'd pictured, and though I would have preferred to work with wet felt not fulled, I thought it was worth a try. So, I started cutting, wetting and shaping, and I was happy to see it was starting to look interesting! I rinsed it and put another balloon in to keep its shape while it dried. I thought it looked really good, it was nice and firm and kept it's shape without the balloon. I attached some string to get a photo, and this is what I saw when it spun around:


A ribcage! My fancy felt sculpture was meant to look plant-like, but it looked like a carcass! I took the string off and put it on the table, but it sunk a bit and that didn't look less dead either!:


I reshaped it, the way it was meant to be, and that looked much better! I know it doesn't look like any plant or seed in particular, I wasn't copying anything, I just had a vague idea of shape, lines and holes:


Different angle:


It does look much better hung up, less flat and more round. While I was messing around taking photos, I stood it upside down and squashed it, and that looked really interesting!:


Tuesday, 28 October 2014

Recent Work

I mentioned recently that I'm doing a Craft Fair soon. It's this coming Sunday at Victoria Baths on Hathersage Road in Manchester. They also do guided tours that day, so if you're interested, have a look at their website.
In my post last time, I showed a faintly plaid felt piece which I'd started to make into a diary cover. Here is the finished cover:


I also mentioned a piece of silk I got for £3 a metre. I did manage to use it on a felt piece, but i haven't made it into a cover yet. It looked a bit nicer and brighter just before the final fulling, but I wanted to make sure it would stand up to years of handling:


I don't know if you remember a couple of pictures I posted as part of the Felting and Fiber Studio site's Jackson Pollock challenge from a bag I was working on, well, I never did get around to finishing the bag, and when I saw it recently, I thought I could cut it up and turn it into a nice sturdy diary cover. So, I did :)  This is the front:


And, this is the back:


I always forget just how long it takes to do those covers! Also, because I didn't have any coloured threads which I thought would be just right, I 'blended' my own. I took a strand each of Red, Orange, Yellow, Green, Blue and Violet embroidery floss and made a 6 strand rainbow. I had to do that for each part I stitched, and I was starting to regret it by the end :) 

One of the things I wondered after the last fair was whether it was obvious that my stuff was actually handmade felt made from real wool. A lot of my stuff is well felted or nuno felt, so to anyone who doesn't know felt, it could just be commercial fabric I've bought. So I thought I would make some obviously wool natural pieces for book covers. They are made from lots of different breeds of wool and embellished with locks, some mohair boucle from Marilyn, some silk noil, and viscose and bamboo. This one has the most added embellishments:


I did actually use the same size template for these pieces, but with all the different wools and embellishments there was different shrinkage. For this piece, I tried to stick to wools which were more similar: Merino, Bluefaced Leicester, Finn and Corriedale, and there are less embellishments:


If I get chance before the fair, I'll upload the finished covers to ipernity or the forum.http://feltandfiberstudio.proboards.com/