Showing posts with label polymer clay. Show all posts

Monday, 20 July 2015

Nuno Weaving

I got the idea to do this woven nuno felt piece after my pencil roving mats. I've done similar things before, you've probably seen them if you have Beyond Nuno, but I think I used a lot more strips on this one. I didn't get as big a variety of 'feltedness' as I thought, most of the strips just felted quite firmly, but I did use two 'regular' thickness layers of Merino, which I actually laid out after I wove the strips.


You can see more texture on this angled photo:


Close up 1:


 Close up 2:


Close up 3:


If you're interested in making your own unique buttons for your feltwork, you might be interested in an e-book I wrote a while ago 'Polymer Clay Simply Made'. It was previously only available from my etsy shop, but since I had to pay for a hosting upgrade, I thought I'd add that too, so you can now buy it from the info page on the blog :)


Wednesday, 17 July 2013

Rubber Stamp Suppliers


I was talking to Marilyn on the Felting and Fiber Studio site about where to get unmounted rubber stamps. I use these on Polymer clay and prefer unmounted because they are more versatile and literally flexible. Luckily, I saved the envelopes (from 2007!) from when I ordered stamps. The main place I got large sheets of unmounted rubber stamps is The Stamping Ground. I bought quite a lot from there, their prices are very good. I also bought a couple of sheets from The Stampsmith. I bought some texture sheets — deep etched rubber in abstract designs, from Creative arts by Obertin. Most of my other stamps were bought from ebay. I don't think the seller I used is still there.

If you have any tips for good sites, feel free to post in the comments :)

Friday, 12 July 2013

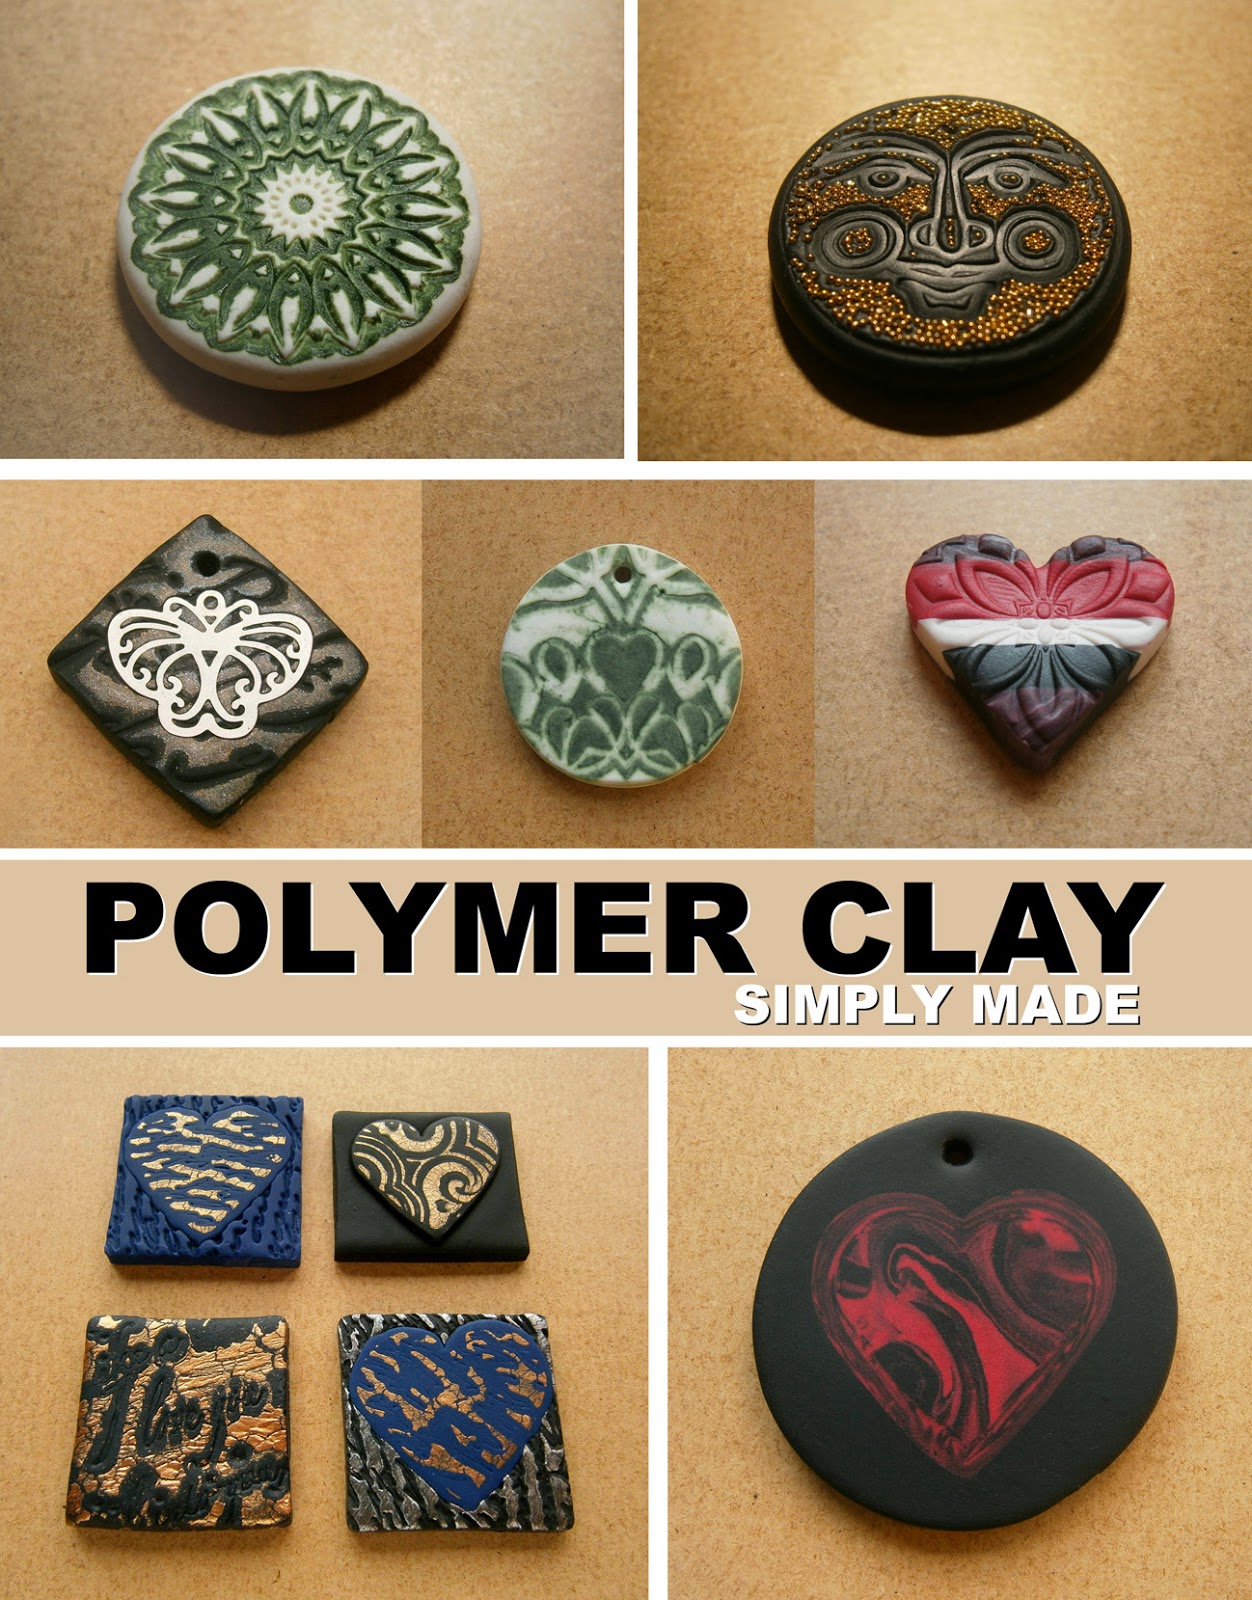
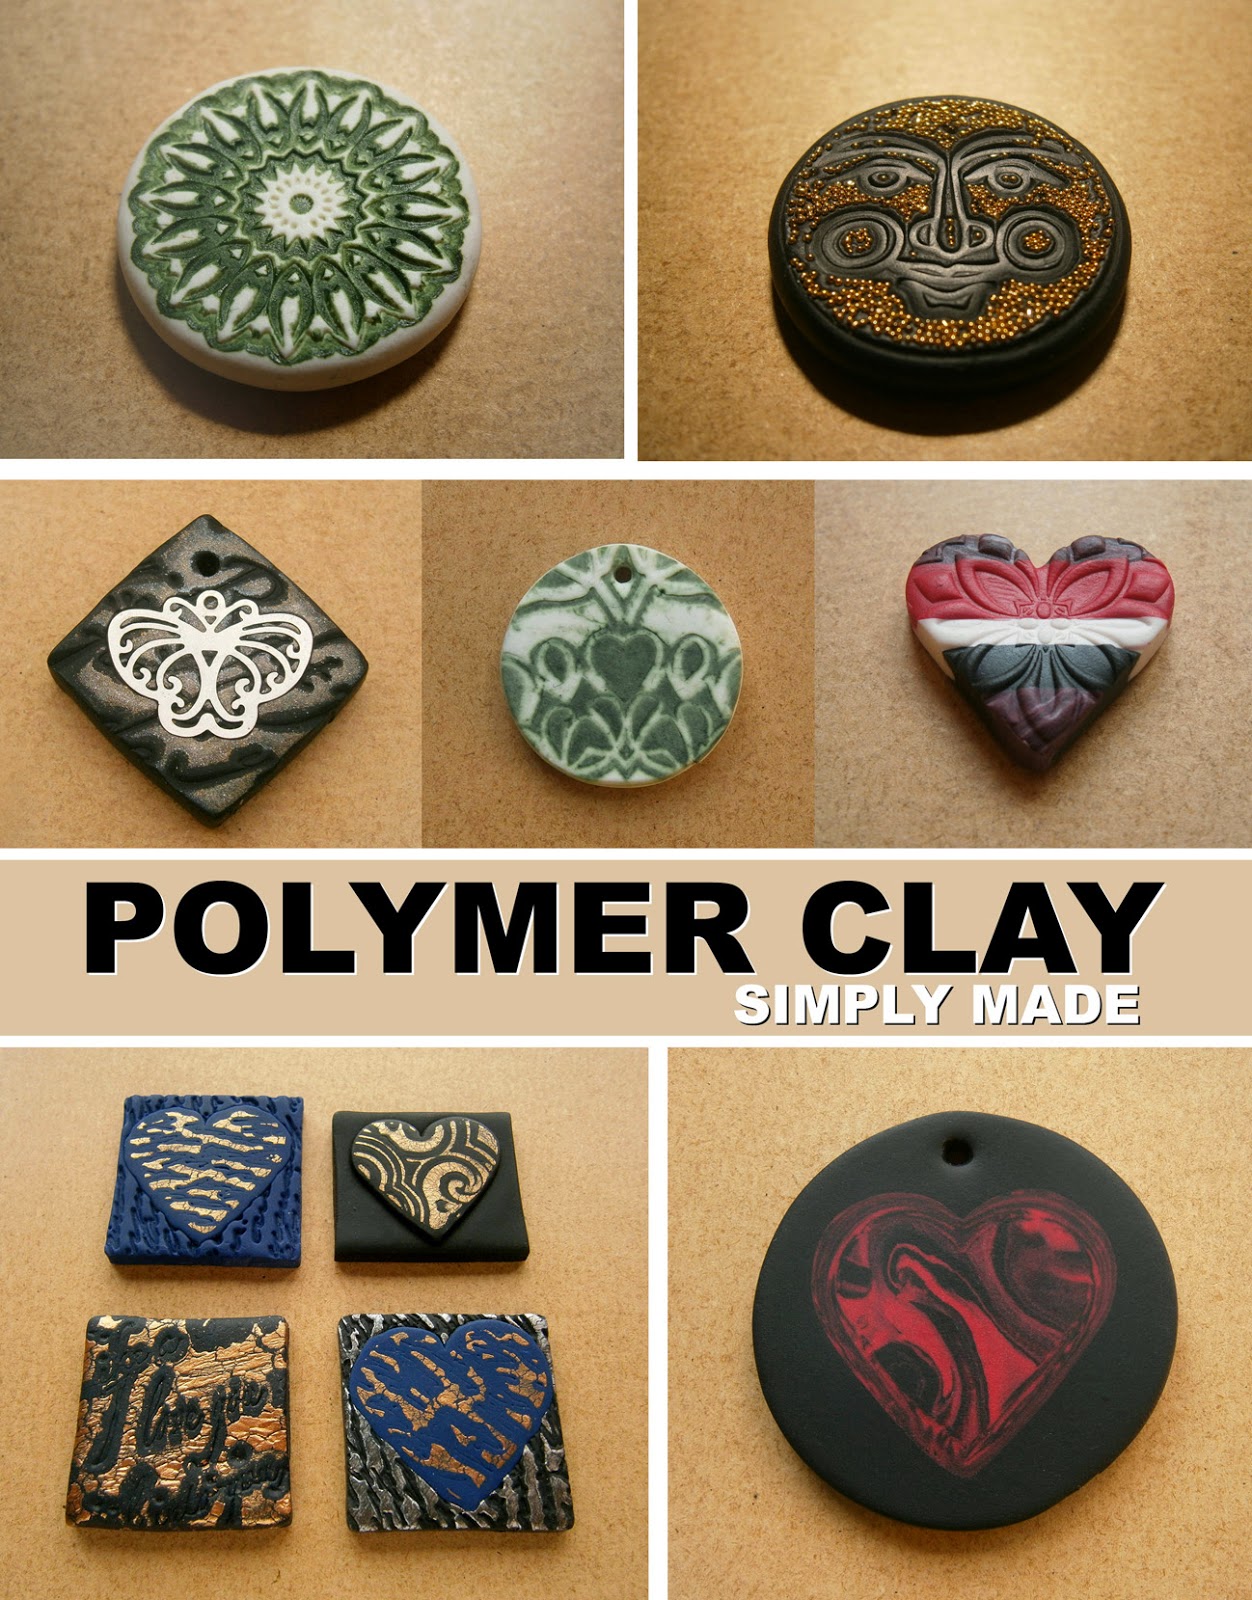
Polymer Clay Simply Made

Well, it's taken forever and grown from the 'few pages' I thought it'd be to over 80, but I have finally finished my Polymer Clay tutorial, or e-book to be precise :)


There are 81 pages and over 200 photos illustrating clear and simple instructions. The book focuses on my very simple method for producing smooth, even clay and how it can be adaped to suit  different techniques for creating gorgeous and unique polymer clay pieces such as brooches, pendants, buttons or tiles for mosaic. And you don't need any specialist equipment or expensive gadgets. Or a pasta maker.


The introduction features the tools and products that I find really useful for Polymer Clay work. Most of the things I use are from around the house, and in my everyday craft supplies. There's also suggestions for cheap and free alternatives.


There are seven other parts to the e-book with sections showing some easy ways to shape polymer clay without the use of cutters, commonly available products for applying colour to the surface of clay, and using beads and metal as embellishments. Throughout the book, there are complete instructions for 10 different techniques including how to achieve a fake porcelain look; inlaying; applying acrylic paint for an aged look; and using beads to enhance designs. You might remember my previous attempt at that where I dropped the camera on the clay and dented it! In addition, there is also a gallery of polymer clay examples made with combinations of the techniques described for further inspiration.


The methods and techniques in the book are suitable for complete beginners, and anyone with no previous experience of polymer clay can create items just like those featured on the front cover in a few minutes with just Polymer Clay and a few commonly available items.


Thanks a lot to Kaz, Ruth and Ann from the Felting and Fiber Studio site for looking at and checking through the first and second drafts for me and making sure it's understandable :) Thanks a lot to Lyn from rosiepink too, for checking through the drafts as well and checking over my rewrites and extra photos at the last minute, and a big thank you to my girlfriend for putting up with me (again!) over the last couple of months, helping me rewrite difficult parts and coming up with the perfect title yet again :)

If anyone is interested, it's available in PDF format from my blog, there's a new page up at the top called Polymer Clay, just click that. I've been trying to upload it to etsy, but it's just sticking on the 'review listing' page. If I ever get it to list, you might want to check the prices on both, etsy is listed in GBP and on my blog it's listed in US dollars, and depending on the exchange rate, you might save yourself  a few pennies :)

Monday, 24 June 2013

Tutorials and E-Books

I feel bad for neglecting my blog, but I really haven't had the time to do anything but work on my Fimo tutorial lately. I didn't think that would make a very long or interesting post so I thought I'd do one about what goes into writing tutorials or e-books. Looking at a really good one, you'd be forgiven for thinking that it's pretty much just getting someone to take photos while you go through the stages, or at the most, stopping to take photos if you're doing it alone. Then just adding some text to the photos in Word. Ah, if only it was that simple :)  Sometimes the shorter ones can be straightforward if it all goes well, but even then there is usally lots of photo editing,  cropping, resizing, etc. and rewrites of the text.
So, what does happen? Well we probably all do it a little differently, but usually I start off with a rough idea, a few things jotted down, then write a brief outline of what I want to include.


I'll type this out onto Wordpad, then start to give it more definition, separate it into sections then add info about the content I want in each section. I usually do a copy of this new outline with a list of all the photos I need to take for it or sets of photos, then print it out and start on the photos.


I'll probably re-print the list quite a few times as I work through it and change my ideas. I like to keep a notebook close by when I take photos because I usually end up with ideas for something else I need to include or an idea that will help make another set work better. Also it's good to take notes about what you're doing in the photo and at certain stages because it will help to explain the process more clearly.


Even when I'm not actually working on the tutorial, something will pop into my head, so I usually end up with lots of loose pieces of paper with little notes on. It's like one idea inspires others and you can't see how you can leave something out without it seeming incomplete. I thought from the original idea for my Fimo tutorial it would be several pages long and just take a few days to do with careful planning, but by the time I wrote down my outline it was already turning into a mini e-book!


Once all the photos have been taken, the most laborious part I find, is going through all the photos...deleting blurry ones first then going back and looking through the rest carefully to choose the final ones. And if you've ever taken photos of felt or fibre, you'll know it usually takes a lot of photos to get the one good shot you need :) I then usually make duplicate folders for resizing. It isn't unusual for me to have 4 duplicate sets all at different sizes.


When it comes to the writing, I usually start by simply describing the process trying not to overthink it, and use the photos to illustrate this. Then I pester my girlfriend to read it through for me, it's really good to get the opinion of someone who hasn't tried what your tutorial is about, they can ask all the questions you need to answer but might have missed. Once the first draft is finished, I'll probably ask Ann, Ruth and Karen from the studio site and Lyn from rosiepink to read through too, it's good to make sure it's understandable to people all over, and that there aren't any words or phrases that are unfamiliar. It's strange the words we take for granted that are often questioned. Once I'm happy with all the words and pictures, I work on the layout. That's where the duplicate sets of photos come in, if a photos used in the tutorial only needs to be small and doesn't show any detail, using photos of smaller dimensions and file size can reduce the overall file size of the document and subsequent PDF.

I'm just past the first draft stage of my Fimo tutorial and ready to start work on polishing the words and working on the layout. I keep getting more ideas for things to include though!


Wednesday, 12 June 2013

Fimo and Computer Problems

I mentioned in my last post that I'd started working on a Fimo tutorial. I thought I'd have it finished now, but it hasn't been as easy as I thought. After all the nice cloudy stormy days that weren't great for photos we've had about 2 weeks of non stop sunshine, and when I say non stop, I mean about 17 very long, hot hours a day :( I never have much luck with photos at this time of year as it is, the light isn't sharp like in winter, but for some reason it seems even softer than usual. I ended up re-doing my photos about 4 times.

 Then my computer died. It temporarily revived for a few days and I managed to copy all my photos onto dvds. I'd started on the editing when it died for good about a week ago. I managed to borrow a computer for a few days, so I did manage to organise the  2,000+ photos into folders and start sorting through them at least. I set my new computer up over the weekend, took about 2 days to find out where things are hidden (Windows 8, I thought Vista was bad!) and made a start on writing the tutorial and lightening and cropping the final photos. I have the intro and first part done now. Only about 7 more parts to go!

This was the piece I showed part of last time, that I dropped the camera on, it has been baked.


I had some spare pieces of clay left over from the demonstration pieces so I had a play around and made a few things just for myself. This is a pendant, it's resting on a glass pebble to catch the light.


I used some of the leftover pieces together to make multi coloured pieces, this is a heart shaped button.


I made quite a few buttons, you never know when you might need one, I might have to do a few more though, I have a pile of purses that would look good with buttons made to match.


What projects have you been working on lately?

Wednesday, 29 May 2013

Coppery Felt and Fimo

Do you remember the coppery bronzey felt piece I posted about last month? I cut that up recently and started to make a glasses case and small coin/card purse out of it. I have so many cut out or part made up items at the moment, I think I'll be working on them all year :)  I did actually finish the glasses case though. This is one side of it:


And this is the other side:


I used some gorgeous hand dyed cotton perle 5 from Rainbow Girl on etsy. The variegated colours work perfectly. I also managed to do quite a lot on the purse. I managed to sew it all together already.


I still need to choose the right button, which always takes forever, and sew the buttonhole. I'm glad I got the gorgeous ribbon on the top of the front flap.


I've also been working on a Fimo/polymer clay tutorial the last few weeks. Taking photos has been harder than ever, it's been really dark, stormy and rainy, which is nice, but not good for taking photos. We did get a few really bright sunny days, so I worked on the opposite side of the house to the sun and managed to get a lot done, or so I thought. When I downloaded the photos, what looked good when I set up a shot, didn't look good once hands were in the photo! I thought Monday would be perfect for working outside, it was bright but cloudy, but also really windy, so back indoors. I did get quite a few good photos all in all, including this one, which captures perfectly my attempt to get rid of the huge dent I caused when I released the camera from the tripod without holding it first!


And here's a sneaky peek at one of the other pieces I worked on:


I'm nowhere near finishing it yet, but when I have, I'll put it for sale on etsy, it won't be expensive, but I want to put as much in it as possible, so if anyone has any ideas, suggestions or requests, if it's something I know about, I'll do my best to include it :)

Tuesday, 1 March 2011

Buttons!

....and a few brooches and embellishments :)

When I was searching for the perfect button for one of my texture-felt bags, I realised my stash of Fimo buttons and embellishments was practically non existent ... not counting the far too huge stockpile of 'rejects' I have (I will find a use for them one day!).

So, I decided to get all my fimo 'paraphernalia' out and make a huge mess in the kitchen making vast amounts of all things polymer. I wasn't even sure my fimo would be good, since I hadn't used it for 2 or 3 years, or that I'd remember how to do it, but it was fine, even previously conditioned clay I'd wrapped up was as good as the day I'd left it, and I had no problem remembering what to do. Though I can't for the life of me remember where my polyblade is :)

A few days on, and I have a growing collection of buttons, embellishments, brooches and pendants. Here are a few of them, there are more on my flickr page :)