Thursday, 31 July 2014

Monet Challenge

I didn't get a chance to do any felting for a while until this week because we had a ridiculous heatwave here. I did manage to make a few batts for the Felting and Fiber Studio's Monet challenge though. After choosing some of my favourite paintings, or ones which I thought I might be able to use as inspiration, I made a simple montage:


I then messed about with it in Photoshop:


Using this for inspiration I made a couple of green batts; a purpley one; a purple and yellow blended one which looks kind of mustardy/mossy, and a mixed blue one. Looking at Monet's style he mostly had a straight/dashy style, but some paintings or certain areas of paintings had a softer swirly style. For the first piece I made using the batts I laid out areas of different colours then added softer wispier swirls of wool and fibres:


I made this piece using the batts too. Neither of these first pieces copy Monet, they are just inspired by the colours.


I wasn't very confident I could do an actual 'copy' of a Monet painting, but I thought I'd have a go of at least doing an impression of a Monet piece :) I chose Morning On The Seine In The Rain.


I was actually quite surprised when this started to dry and it actually looked like something! I don't know if it's because I've stared at the original so much that I can see the similarity and that it's meant to be it, but I'm pleased with how it turned out.


When I was fluffing up the fibres for the swirly piece, I thought I might have a go at needlefelting a piece too. Since I had all the colours out, and had really started to like it, I thought I'd do another based on Morning On The Seine In The Rain. I used a piece of thick commercial Merino prefelt as a base, and blended some texturey wools like Icelandic, carded lambswool and Devon longwool with Merino to get the colours and texture I wanted. I like the way this turned out too :)


If you want to join in the challenge, you can comment on any of our Challenge posts on the Studio site and link to your piece or post it on the forum in the thread we have there: http://feltandfiberstudio.proboards.com/thread/1587/third-quarter-challenge

Wednesday, 23 July 2014

Wall Hanging/Raggy Table Rug

A few weeks ago, my mum was talking about getting her bedroom redecorated. I'd been struggling to think of what to get her for her birthday, so this gave me an opportunity. I casually asked about the colours and she said she wasn't sure because she wanted to match the paint to the wallpaper she was having on one wall, luckily, she knew what the wallpaper was called, so after she left, I looked it up:


My first thought was to try to convince her to have the nice blue and brown version! But, I resisted and downloaded the picture. Then I opened it in Photoshop and tried to pick out all the colours and made an image with a few stripes in the various shades:


Then I printed out the sample and stripes and started to plan a wall hanging for her new room. I wanted something soft, texturey, not too neat. 'Raggy' is the best word to describe what I was after, I think. I spent a couple of days making blended batts in the shades I wanted. Then I spent a few days making twists of wool and fibres and also spun some 'arty' yarns for the piece. Unfortunately none of the photos I took came out :(  but when I'd finished making them there were at least 150 lengths of wool, commercial art yarns and fibres twisted or spun together. I laid out a couple of layers of wool tops, then carefully added all the twists where I wanted them. I had to take my table outside to felt it because it was so big and I knew I'd make a mess.


This is a close up of it with the netting on:


And a peek under the netting:


It didn't take as long as I thought it might for it to felt, probably because it took so long to make sure it was all thoroughly wetted! This is when it was all wet down and starting to felt.


And this is the finished piece:


I knew as soon as it was dried that my mum would want it as some kind of rug/mat and the first thing she said was 'Oh, this is going on top of my drawers, it'll be perfect.' Some of the yarns I made were by plying handspun merino with commercial yarns, but mostly I just plied half thick, half thin merino together. Closer view of the middle:


Here are some commercial boucle yarns, one twisted in on the left and the one I laid on top is mohair from Marilyn, I think. There are a couple of my yarns in there too:


I'd forgotten I used some organza and cotton gauze in the twists too, you can just see a bit of organza here:


Yarny Texture:


 I thought a bit of colour might make a change from all the natural wools and fibres this week :)

Tuesday, 15 July 2014

Using Black and White Viscose Together

I think most of the natural wool and fibre panels I've posted about have used one breed of wool and one fibre. I did post about Humbug (black and white striped) Jacob about a month ago, and I'd used both black and white viscose top with that. This first piece is light grey Swaledale, it's mostly a creamy white with light and dark grey flecks which give it the light grey appearance. I blended some black and viscose tops by hand and laid them on top of the Swaledale:


 The overall appearance of the blend is a dark grey, with white streaks:


The separate colours are a bit more obvious close up, I like the way the fibres appear to sit just on the surface, lightly tangled with the Swaledale fibre.


This is a bit closer and slightly at an angle, showing where the fibre is a little bit thicker, I like the twists and waves.


This next piece is one of my favourites, it's English 56s with Angora locks. I don't know if there's a proper name for older goat locks, I've heard 'yearling' used, but I don't know how old the goat was these are from. They are a lot thicker and generally less soft and more wavy than curly  kid mohair. I loosely combed the locks through a handcarder with either black or white viscose, to blend with the locks. I laid them out loosely alternating each row: black, white; white, black etc.


An angled shot:


A close up where the locks were felted in more:


And a supermacro of course:


Do you prefer combinations of wool and fibres which have lots of character and texture or do your prefer the more softer effects of fibres closely felted to the surface of a smoother wool?

Wednesday, 9 July 2014

Craft Fair

I did my first 'proper' craft fair on Sunday just gone. It was at the gorgeous old building of Victoria Baths just a mile or so from Manchester city centre. I didn't sell much ( a piece of rainbow felt, 3 bookmarks, a credit card holder, a felted soap, a coin pouch and a heart shaped ring pouch) but I did pay for the cost of the stall, and I did meet a lot of nice people. A wet/needlefelt artist had a stall in the row behind mine, she had lots of nice pieces, but I didn't get her details. Maggie was upstairs, she had a lot of nice felt pieces and had been felting for a long time, and she sold me some dyed flax for a bargain price! This is Maggie's stall:


She had some gorgeous woven and cobweb scarves:


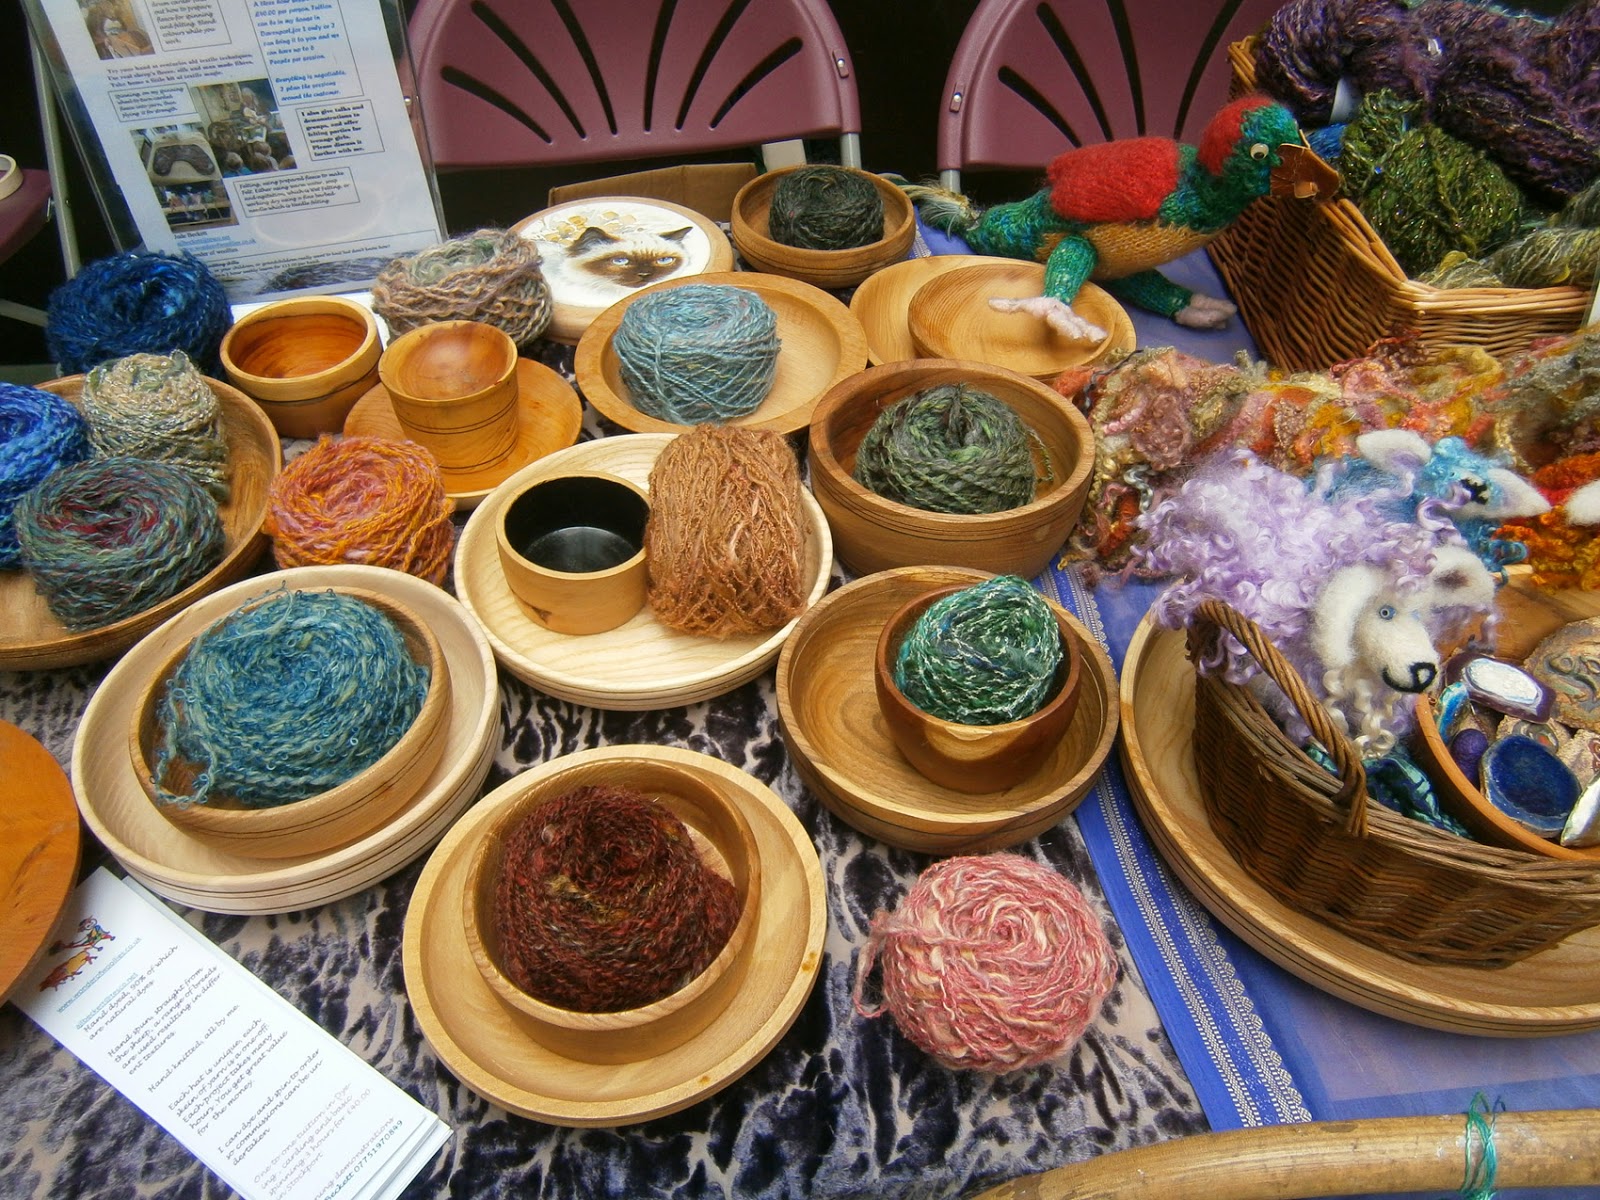
Opposite the end of my row was Jude. She does pretty much everything! From washing raw fleece, to dyeing it mostly with natural dyes, spinning it up into gorgeous yarns and then knitting it into amazing shawls and hats. She also felts and does workshops teaching her many skills. This was Jude's stall, unfortunately I didn't get a photo of her spinning wheel.


These are some of her yarns. I think she said her dad turned the bowls himself. Just disappearing to the right are some needlefelted sheep with hand dyed locks:


My stall was a lot neater when I first set it out, but I only took photos nearer the end. This is most of it:


And this is the other end:


If anyone has been put off doing a craft fair because of lack of transport, I thought I'd show you how I took my things. You might remember my 'granny' trolley from a post last year, that is what I used to take everything to the fair in. I used a large 'document' box, and a couple of shoe boxes. This is the smallest shoe box I used:


In this I had 7 pieces of felt.


This is the second shoe box I used:


In this I had all my greetings cards, handmade felted soap, a receipt book, some business cards, a couple of mirror cases, a glasses case, ring pouch, coaster and lots of bookmarks.


The document box, which came flat and cost 70p from Ikea, measures 10 inches high, 10 inches deep and is 13 inches wide.


In this I managed to fit: 3 large gadget sleeves; 22 phone/camera sized cases; 2 glasses cases; 13 credit card and coin pouches; 5 purses; 3 slim gadget cases; 6 A5 notebooks and 8 A6 notebooks. I think I had even more in it on the way there!


I did have a small shopping bag with the table cloth cover, some paper bags and my woolly vessell in, but almost everything else was in the trolley.

Monday, 7 July 2014

Suffolk, Banana, Masham and Bamboo

I've used banana fibre tops with suffolk wool tops before, so I know they look really interesting together. I fluffed up some of the banana fibre, and added it to the top of the Suffolk. Though I used less of the banana fibre than I have previously, I wasn't disappointed by the results.


This angled picture shows the texture more:


This is a close up of the centre part:


And this is a supermacro of the wool and fibre texture:


In the middle along the right edge is an area where the fibres are a little thicker. In the top photos it looks quite dense, but a supermacro close up shows the tangle of wool and banana fibres.


And from this angle you can see the pattern even better:


 Another combination of wool and fibres I found really interesting is Grey Masham and Bamboo top. I'm not sure if Masham is classed as a coarse breed, I think its Micron count is between 29 and 34. It's certainly more 'wiry' than fine wools, but is still quite soft to the touch. The contrast of the wool and sheen of the bamboo was quite striking, yet at the same time, the wool seemed to 'absorb' the fibre. This is the whole piece from an angle:


This is slightly closer and from above, there's an area in the centre with barely any fibre on it:


This is a close up of the dense patch just to the right, it's interesting to see how the fibres are still affected by the characteristics of the wool even when they are thicker.


This is a close up of the area just left of centre at the top of the piece, showing dense and sparse patches:


I hope you're not getting bored of these because I have about 30 other breeds of wool and about 15 natural fibres, I'm not going to do the maths, but that's quite a variety of combinations I can come up with!