Showing posts with label wet felt. Show all posts

Sunday, 22 July 2018

Felt Bookcovers

I've made a few new felt book covers, recently. First, I made a large seascape in felt:


Then I made it into an A5 bookcover. This is the front:


And the back:


I had a look through my already made felt pieces and found one from a Felting and Fiber Studio challenge which I thought would make a nice A6 cover, so I cut that out:


There's quite a lot of viscose on the orangey yellow part so it has a nice sheen. This is the front:


Not quite so obvious in the photos is the texture near the bottom with silk noil and some cotton fibres. I think I used some dyed cotton nepps too. This is the back:


I'd been making this next notebook cover since January! I had a big clear up and tidied my offcuts, which led to planning the cover. I then sewed some of it in March, and finally finished it last week. Either can be the front or back, so this is side 1:


And side 2:


I used some hand dyed muslin for a backing/lining:


This is how it looks with the front and back opened out:


I still have my offcuts out and plan to make some collage shoulder bags, next.

Thursday, 28 December 2017

Scarves Part Two

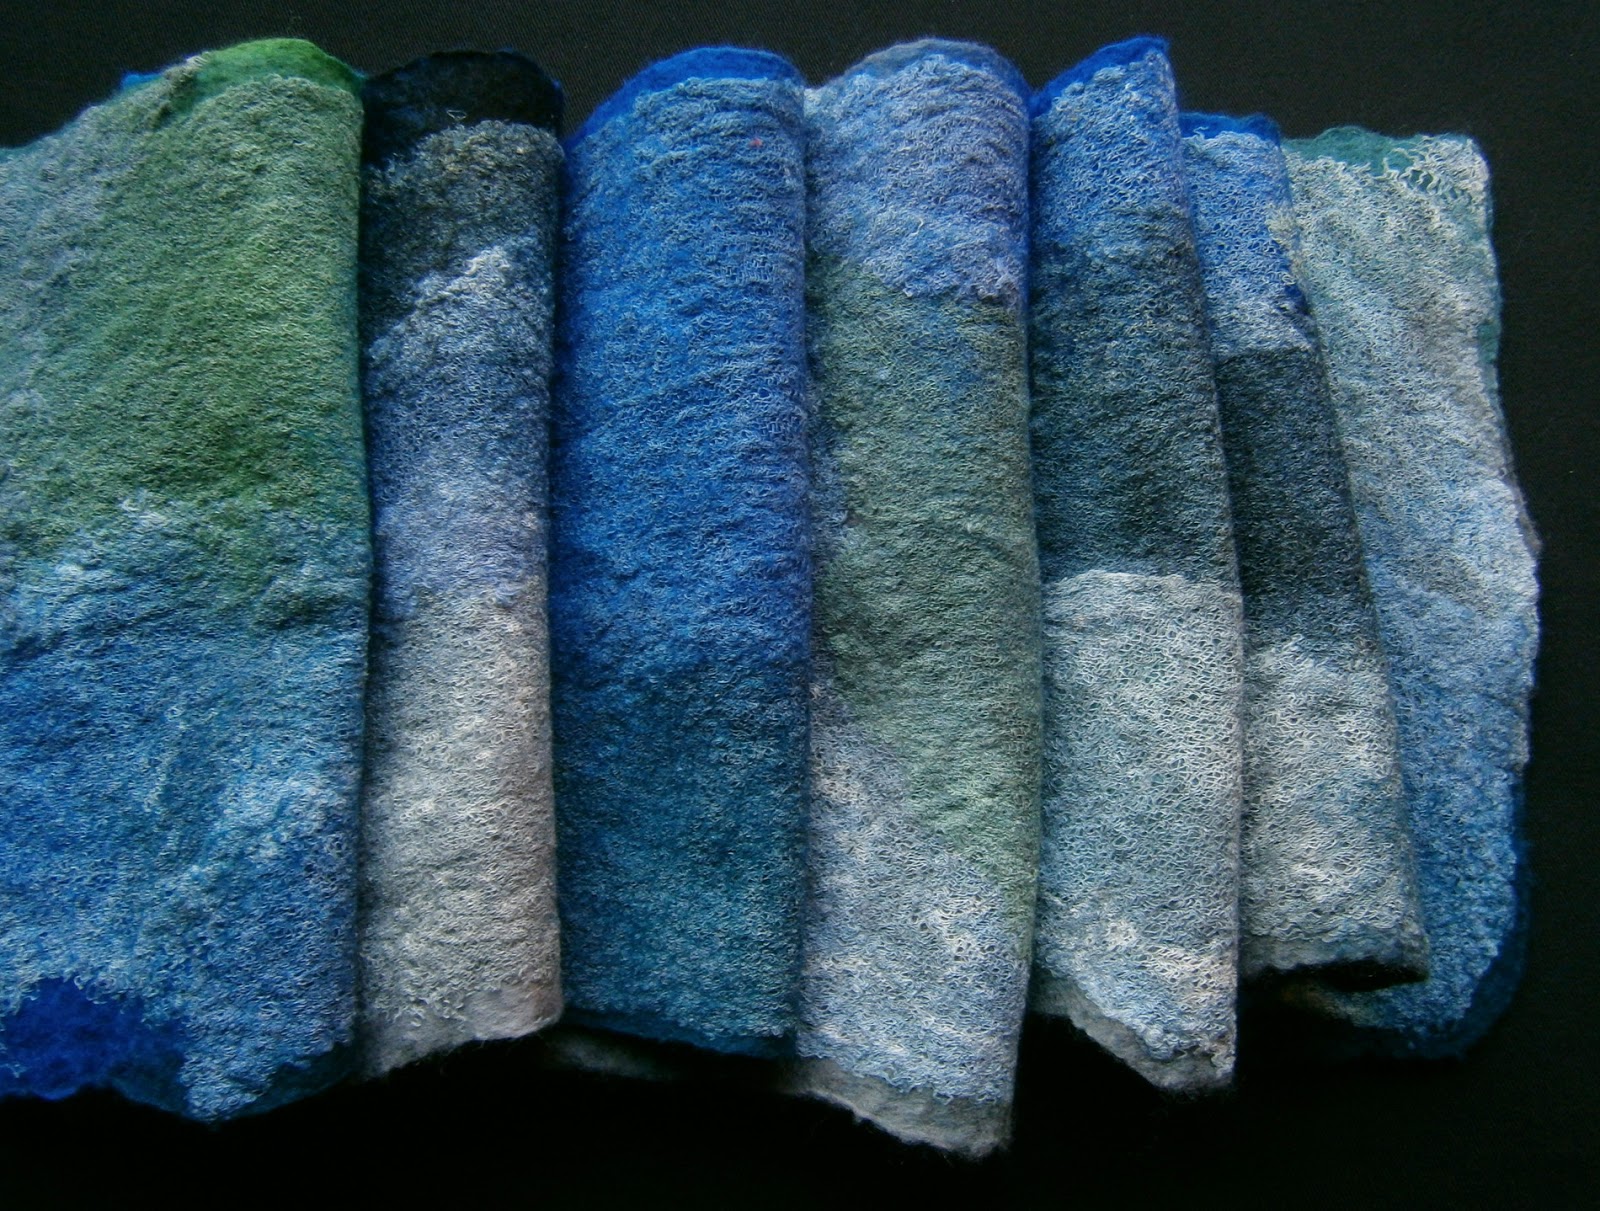
Do you remember the scarf samples I posted about in October? One of them was an irregular shape with lots of different pieces and sizes of cotton scrim for a base, I wanted to make a full sized scarf based on that idea. I didn't want to make the overall shape of the scarf quite as irregular as the sample though, just more 'uneven'. I got out lots of pieces of hand dyed scrim in variegated shades of blues, greens and greys,  and ironed them-apparently those big plastic craft tables bend from heat more easily than I thought! I laid the pieces out on the template, and overlapped them in places for a bit more texture. Then I chose some 18.5 mic Merino in similar colours and matched the wool layout to the scrim.


It was interesting to just follow the colours of the scrim instead of planning the colour layout, it was a lot more random:


I really like the scrim side, it is so texturey and reminds me of lots of different landscapes:


This next one is a grey marl Merino on hand dyed cotton gauze. I blended up 4 shades of 18.5 mic Merino, 2 greys, a duck egg and black. It wasn't very easy to get photos, they kept turning out blue!:


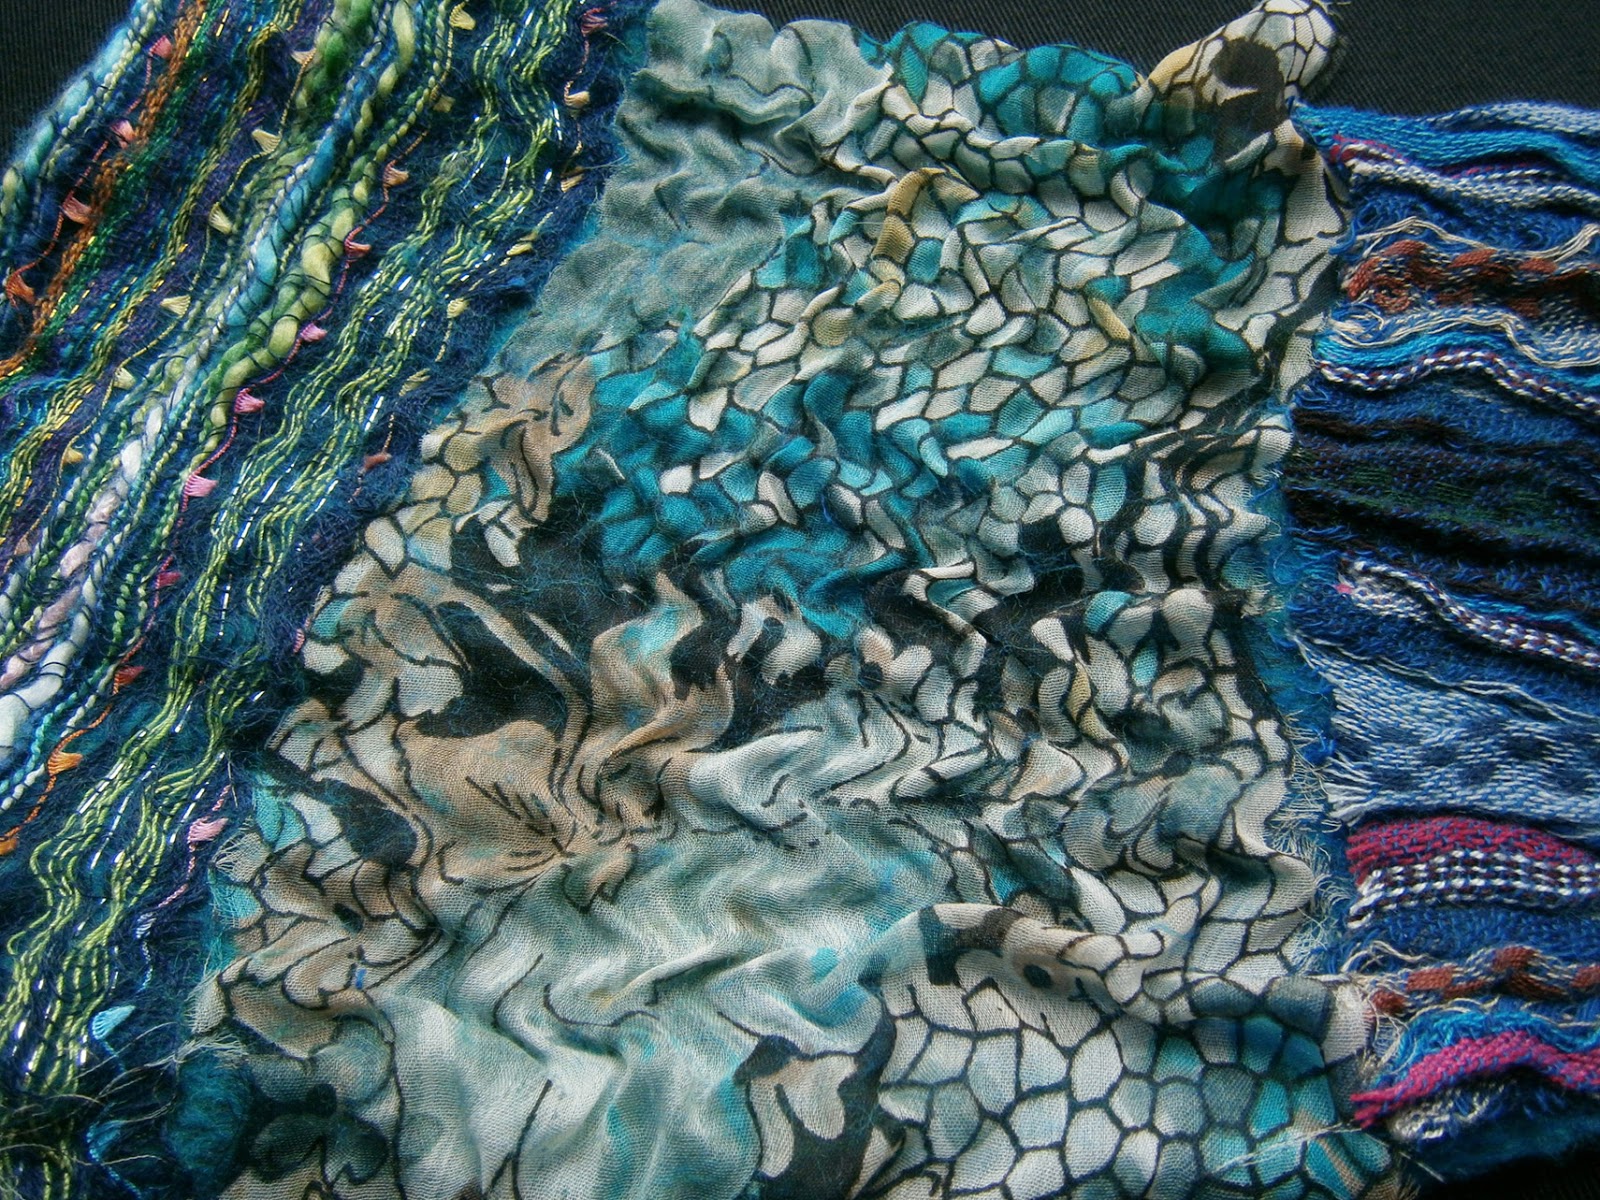
Those were the last of the scarves, but I did make a few samples to test out some other fabrics. I used some scraps of stranded scarves with a couple of offcuts and some 18.5 mic Merino:


I laid the wool out very finely, cobweb thin really:


The fabric offcut rippled into a nice texture:


I used just two fabrics for this one, strips from a green viscose scarf and strips from a very pale green/beige/ blue charity shop dress which I was convinced was silk until I did a burn test, very realistic imitation!


I laid the 18.5 mic Merino wool tops thicker on this piece, though they were still quite fine. I also didn't go right upto the edges of the fabric:


The ripple textures were interesting, the viscose seemed to ripple more vertically, and the imitation silk more horizontally:


This sample is a fabric which might look familiar as I bought 3 scarves with the same design in different colours.  I think this is the first time I tried it with 18.5 mic Merino:


Well, that's it for this year! I hope you've all had a great year, and enjoyed reading the posts. And if you've got a bit of spare time over the holidays, don't forget I have lots of free tutorials which are all  felt, fibre and fabric related: https://feltbyzed.blogspot.co.uk/p/free-tutorials.html

Tuesday, 26 December 2017

Scarves Part One

I've been into making scarves lately, though I probably carded more wool and ironed more scrim and gauze than I used for making scarves, but I have finished quite a few. This is a white one I made a few weeks ago:


I used 18.5 mic Merino, and Rose fibre for embellishing:


I cut the scarf wider than my template, and scrunch gathered it to size before adding the wool, so it'd have some texture on the back:


I also made a short, wide scarf/wrap similar to the white scarf, using natural cotton scrim and 18.5 mic Merino:


It's about 3 times as wide as the scarf, and I didn't scrunch the scrim first:


I used 3 different cellulose fibres for embellishing this: Viscose, Rose and Tencel, this is the Viscose:


Another scarf I made recently is this bright, colourful one. I always prefer the side where the wispy ends of the wool tops overlap (or underlap since they're laid first) the next colour:


This is the other side where the colours are in blocks:


An 'arty' shot to shop how soft it is :)


I think the multi one is the only scarf I made recently which isn't nuno-felt. This next one was made with 18.5 mic Merino and hand dyed cotton scrim. I embellished this with hand dyed bamboo top:


I cut a strip of subtley variegated lemon/yellow scrim to size, then cut the strip into roughly even pieces and re-arranged them before adding the Merino on top:


I've got a few more scarves to show, so check back before the end of the year to see part two :)


Monday, 28 March 2016

Landscapes and Nuno

Ruth did a post on The Felting and Fiber Studio just over a week ago about a landscape tutorial on the Start2 website. I hadn't come across that tutorial before and thought Ruth's paintings were brilliant, so having been stuck in a recliner for a week and half with flu, I was itching to do something creative so gave it a go. I had some thick but cheap sketchbook paper and also a variety of printer paper samples to try it on. This first one is the sktechbook paper:


And this is the textured printer paper sample:


They need flattening and cropping. I was disappointed they weren't as nice as Ruth's, but if I'd seen them before Ruth's I'm sure I'd have been more impressed :) I wish I had the artistic skills to add to them to improve them. I'm at least going to look for a white gel pen. I don't think I've mentioned Start2 here before. It's a creative well-being site which is great for activities which get your mind working and your creativity flowing in ways you might not have tried before. I did a post about it on the Studio site just before Christmas: http://feltingandfiberstudio.com/2015/12/17/creative-well-being-site/

In my last post I mentioned I hadn't had time to felt my demo piece when we did landscapes at the well-being centre. As well as the general layout, I was showing ways of using some different fibres, like cotton, nylon, plastic and even mohair for effects in the sky, and how to tease apart and fluff up texturey wools or dyed nylon for adding depth and texture. I didn't really give much thought to how it would look, just showed them all and piled them on. All I can say is, the locks look nice :)  The patch of wool and nylon on the bottom right looks like some green bodied, red headed creature looking over its own shoulder!


I took some fabric strips with me the week after for some experimenting. This is the piece I made:


I thought I'd make a bigger sample trying out more of the fabrics. Before going back to the other well being centre, I wanted to get a better idea of which fabrics attach securely and will hold up to being handled a lot, which might need some stitching to secure and which will be better for more decorative pieces. This is the whole piece:


And here are some angled photos to show better how they attached and their texture (or not in some cases), left side:


Middle pieces:


Right hand side:


I still have a few more strips I want to try, hopefully I'll get a chance later this week.

Wednesday, 17 April 2013

Grrr! Buttonholes!

It took me a while, but I finally finished the two purses I was working on made from felt with nuno felted strips of cotton gauze. I don't like doing buttonholes, they're so small and fiddly, so I put off doing them. I could practise with the sewing machine, I suppose, but I think I'd just make a mess of it :)  I can't remember now which was the one I first started working on, but this is the first one I finished:


Where possible, I kept the natural edges of the felt. I'm sure to some people this makes it look 'wonky', but I prefer 'unique' :) I bought quite a few new embroidery threads recently, so I had lots of colours to pick the right ones for sewing the different parts.


It actually turned out a lot bigger than I thought, and my chunky camera fits into it! Plenty of room for lots of cash ;)


This is the second one I finished. It's slightly smaller than the first one, but still my slimmer camera fits in easily. They both look very similar to each other, the biggest difference being the natural edge on the flaps. This is the back, with the flap open:


As much as I always want to keep everything I make, I often find it hard to use things I make. It sounds silly, but I hate to 'waste' things, it's that same kind of feeling you get when you have a nice new notebook or journal, and don't want to spoil it by scratchy handwriting and wonky sketches. So, rather than stockpiling things 'too nice to use' in a box, I'm going to put them on etsy. The first thing I listed was a shoulder bag I finished earlier this year:


I made it using spare pieces of felt and offcuts that I saved, and a gorgeous piece of fabric to line the inside flap. It's a flat 'passport' style bag and fits a camera and coin purse comfortably.


I keep being told I shouldn't feel embarrassed or awkward about self-promotion, so if you're interested in either of the purses, the bag or maybe you were thinking of buying a handmade notebook cover or camera case, please visit my etsy store :)  The bag is already listed and once I've measured the purses and weighed them for postage, I'll add those too.
And if you don't see exactly what you want, I'm happy to take commissions for custom orders :)