Showing posts with label texture. Show all posts

Monday, 24 October 2016

Unexpected Results

I thought I'd make a big piece of nuno felt, with plans to make it into a book cover. I recently got a big bag of Botany Lap waste from World of Wool with some nice blues and purples slightly different to the ones I already had so I thought a patchwork of colours with a collage of silk pieces would work great. I noticed quite early on it didn't seem to be felting the 'usual' way, but put it down to starting on the back, which I don't usually do, but had wanted to make sure there were no thin edges, so I'd flipped it over. And I wondered if I'd overwet it a bit too. Then some bits of silk came right off, which did seem very odd, as I've been using bits of these same silk scarves for years. I thought that one of the 'waste' wool tops I'd used mustn't have been Merino, it did feel a bit 'rougher', but sometimes they can do if they're a bit old or some colours seem a bit drier too. It wasn't vastly different so I guessed it might be Corriedale. When it came to fulling, it all got really weird. I know different wool breeds and wool amounts, and using fabrics etc affects shrinkage, so when I make patchy and/or nuno pieces, I don't expect it to be as neat and 'square' as simpler pieces, but this was all over the place. This is the finished piece now it's dry:
 

When I'd flipped it over during the fulling, when the distortion became more pronounced, I suddenly went 'Aaah!' as I realised. This is the back:


It seemed obvious then that not only was one of the 'waste' wool tops possibly not Merino (the mid blue), but the turquoisey one was probably not 100% Merino, either. It felt soft, but then some colours do seem softer, and it wasn't obvious looking at it that it was blended with anything. I did a burn test and it burnt the same as some Merino, but some of the close up photos I took made it look quite synthetic. It reminded me of the fake Angora fibre I have.


When I looked at the places where the silk hadn't attached fully and where it had come off altogther, it was where I'd used the soft lap waste tops both on top and underneath. This is one piece which really tried to hang on :


Where I'd used the two different types together, I did get an interesting texture on the Silk. This is the vertical purple/lilac strip on the right hand side:


And you can see in the photo of the whole piece how that silk strip changes about a quarter of the way down, with different wools. I think I'll keep all these together so I know to expect unusual results, maybe use them for experiments. The only real problem they caused was where the softer tops, possibly blends, were in two layers, and the silk had come off, the felt was cobwebby in those places. (not a great photo, but you get the idea!)


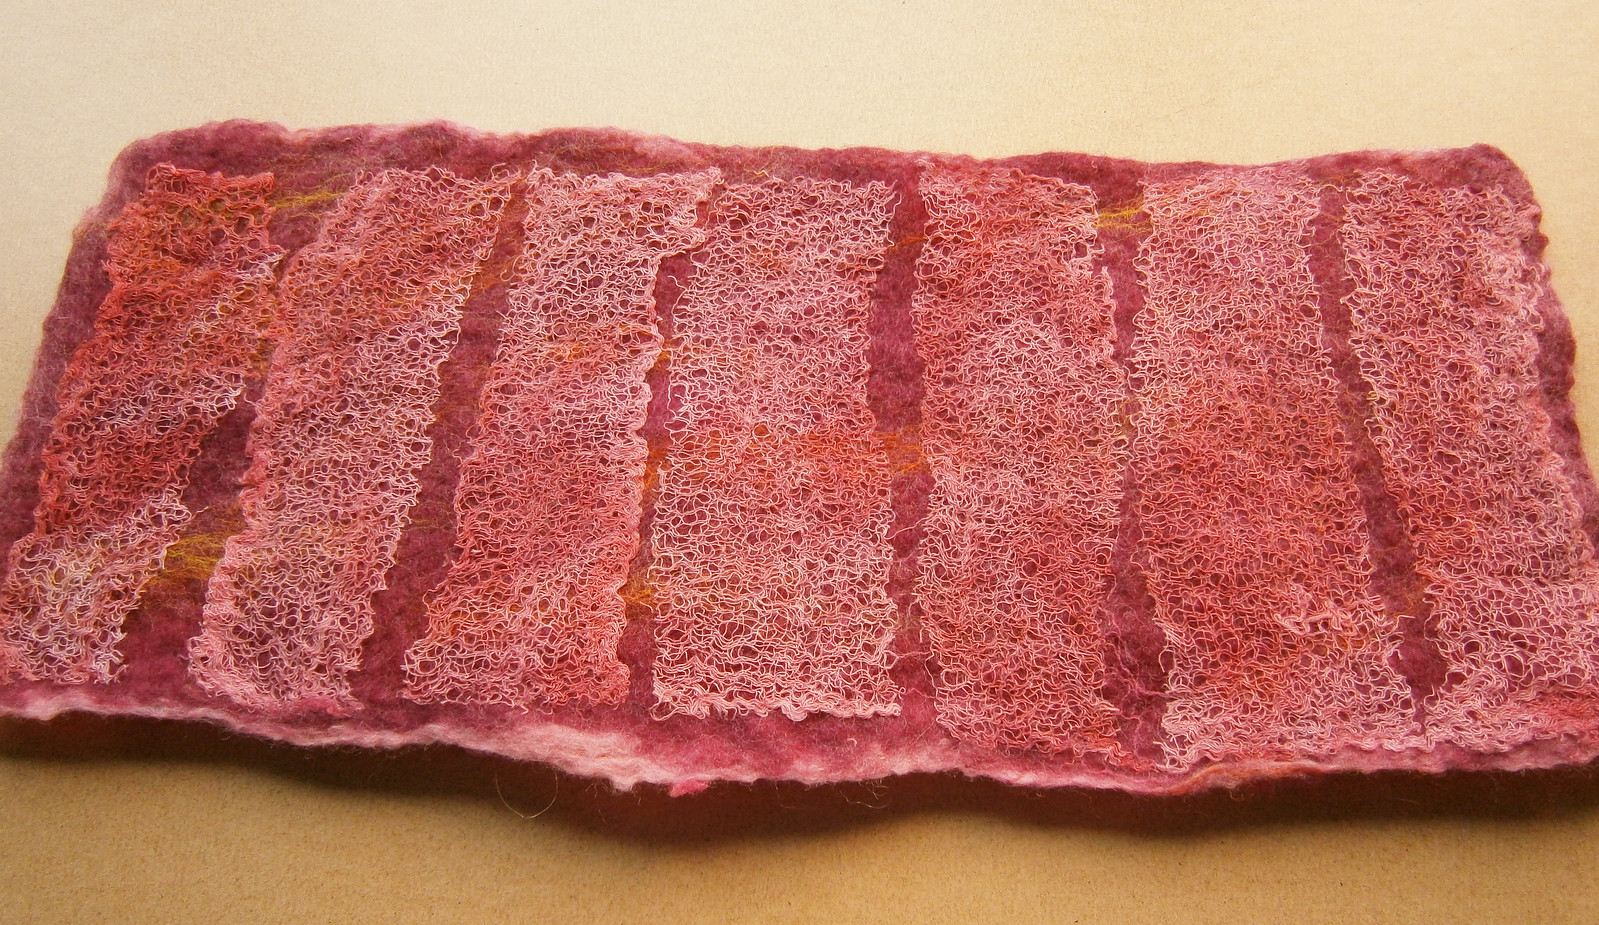
One piece which did turn out how I expected was a new coaster I made using some woven pencil roving waste which had been gathering dust for months (I flipped it over, just in case). I did almost use some Botany Lap Waste tops, but changed my mind at the last minute:


I think the colours and rippling give the illusion it's bumpier than it is. You can feel texture on the surface, but it's subtler than it looks:


Have you had any unexpected results or surprises using unknown wools or fibres?

Sunday, 3 November 2013

Recent Things

I made some mixed white wool batts on my drum carder recently. I like to use different wool breeds together because they felt differently to each other so you get interesting results and it's different every time. I made 3 batts altogether and used Lincoln, 23 mic Merino, 18 mic Merino, Norwegian, Texel, Cheviot, Devon, Teeswater and Shetland wool tops.  I also added in some carded mixed lambswool and Falkland fleece for texture, and Border Leicester, Mohair curls, Bluefaced Leicester, Wensleydale, and Alpaca for crimp and curl. I also added some silk for extra shine.


I thought I'd use the batts as the inspiration to put together another wool and fibre pack to sell on etsy, using white/natural as the theme. I added some cotton scrim and some of the 'luxury' embellishment fibres I have: Bamboo staple fibre, Egyptian cotton top, Ingeo, Banana, Ramie, Flax and Milk protein fibre. And also some silk fibres: silk threads and throwster's waste, silk carrier rods (don't they look so ugly before they're soaked and separated?!) and one of my favourites, silk noil. I love the way it felts, but I also love the way it smells and sounds as it's separated and stretched out :)


I went to Abakhan on Wednesday for some supplies (they were out of delrin clips!) and couldn't resist getting some gorgeous georgette fabric in a few designs. This is one of them:


I also couldn't resist the braiding, so got 3 designs:


I hadn't had chance to do much over the last few weeks so I decided to make time on Friday and laid out and felted a nuno felt piece with one of the new fabrics I bought. I knew I should have added some wool around the edges of the fabric, but I laid it out upside down, with the fabric on the bottom and knew I'd mess up if I tried to flip it :)


I picked colours from the fabric to make a muti coloured patchwork back:


It textured really nicely:


Wednesday, 29 May 2013

Coppery Felt and Fimo

Do you remember the coppery bronzey felt piece I posted about last month? I cut that up recently and started to make a glasses case and small coin/card purse out of it. I have so many cut out or part made up items at the moment, I think I'll be working on them all year :)  I did actually finish the glasses case though. This is one side of it:


And this is the other side:


I used some gorgeous hand dyed cotton perle 5 from Rainbow Girl on etsy. The variegated colours work perfectly. I also managed to do quite a lot on the purse. I managed to sew it all together already.


I still need to choose the right button, which always takes forever, and sew the buttonhole. I'm glad I got the gorgeous ribbon on the top of the front flap.


I've also been working on a Fimo/polymer clay tutorial the last few weeks. Taking photos has been harder than ever, it's been really dark, stormy and rainy, which is nice, but not good for taking photos. We did get a few really bright sunny days, so I worked on the opposite side of the house to the sun and managed to get a lot done, or so I thought. When I downloaded the photos, what looked good when I set up a shot, didn't look good once hands were in the photo! I thought Monday would be perfect for working outside, it was bright but cloudy, but also really windy, so back indoors. I did get quite a few good photos all in all, including this one, which captures perfectly my attempt to get rid of the huge dent I caused when I released the camera from the tripod without holding it first!


And here's a sneaky peek at one of the other pieces I worked on:


I'm nowhere near finishing it yet, but when I have, I'll put it for sale on etsy, it won't be expensive, but I want to put as much in it as possible, so if anyone has any ideas, suggestions or requests, if it's something I know about, I'll do my best to include it :)

Friday, 26 April 2013

Pink!

 I did try to post this yesterday, but Blogger won't let me upload pics from my computer to add to the post, I hade to use Flickr URLs and Picassa. Is anyone else having problems?

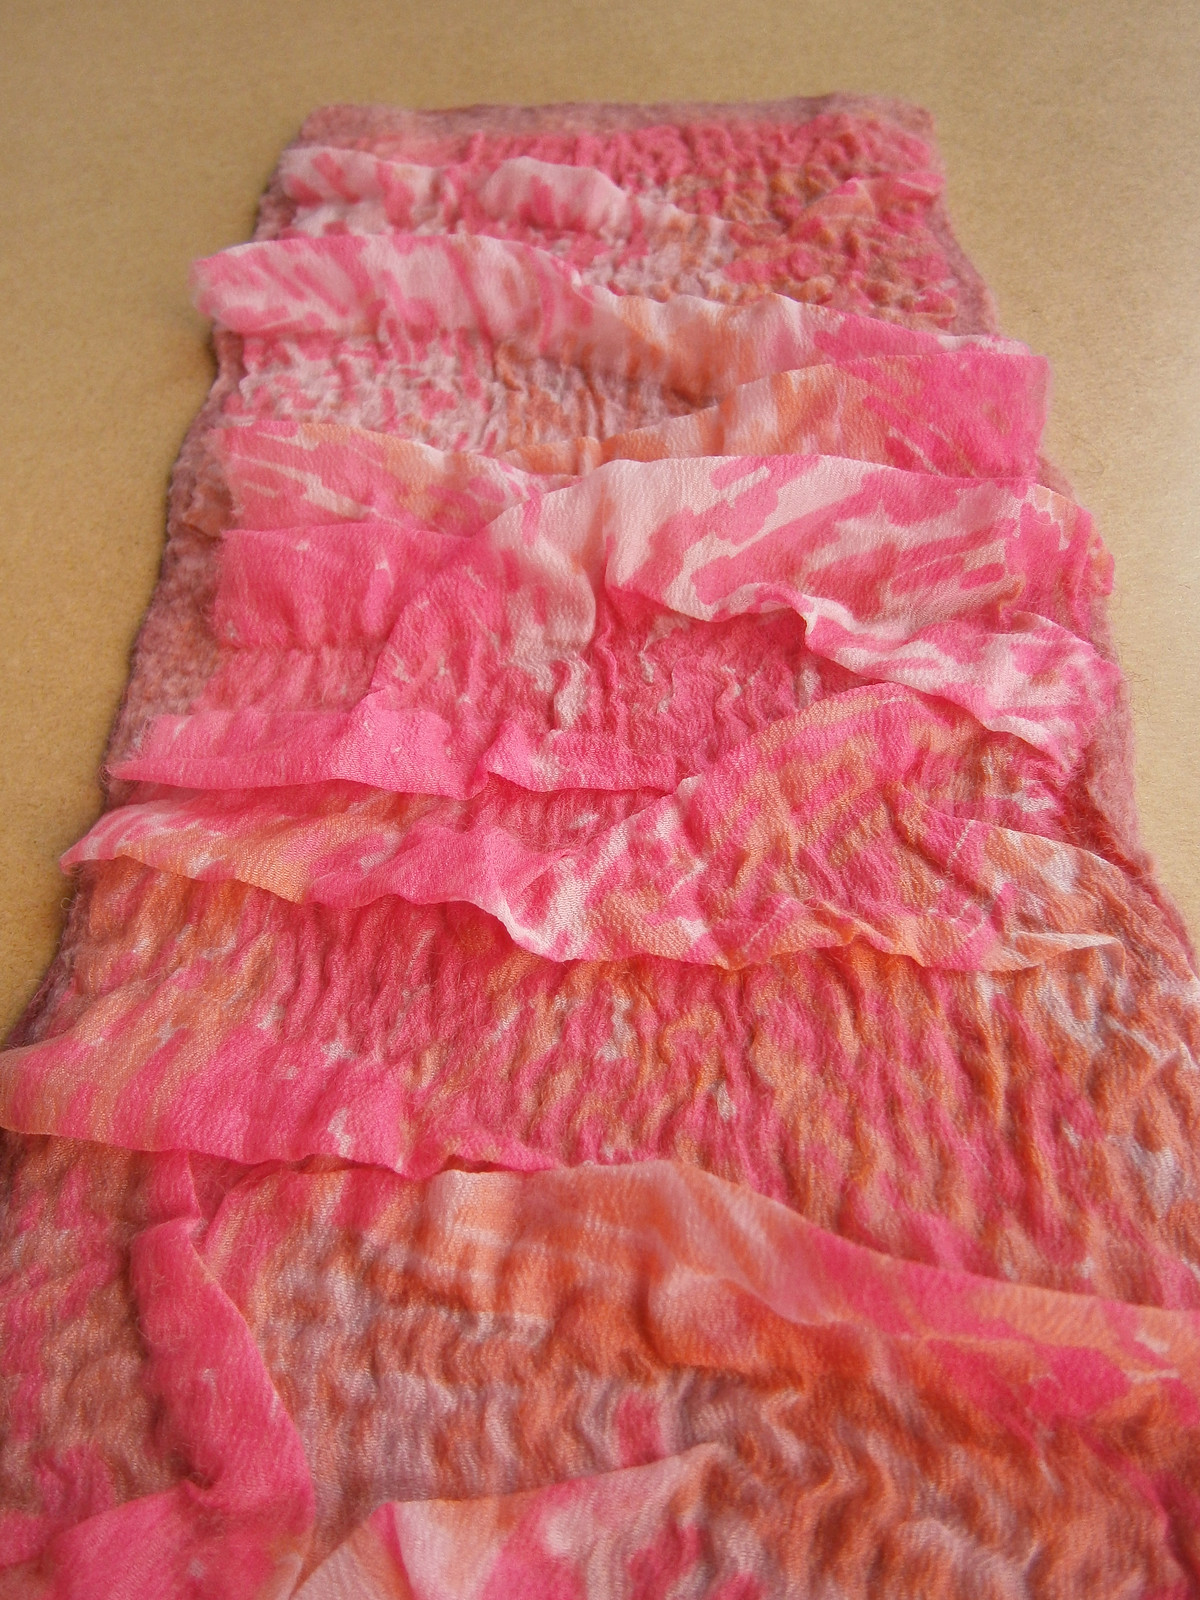
On my last post I showed you a sneaky peek of the ripples and ruffles of the nuno felted piece I made for Ann's challenge on The Felting and Fiber Studio site. Well, here's the finished piece in full:


Here it is from another angle:


It's kind of double-nuno because I started with some pieces of cotton gauze that I'd dyed a while ago. I wanted it to be extra sturdy to make a camera case out of it:


I really liked how it turned out, so I thought I'd make a similar piece. I measured this one carefully to make a book cover out of it. I also added some wisps of orange, beige and white to the merino at each end to match the patterns and colours of the fabric.


You can see the texture more from this angle:


And of course, a supermacro close up :)


I have just one more piece I made from this fabric, but it is still drying. If you're interested in learning more about felting with synthetic fabrics, nuno felting in general or the techniques I used, please have a look at the info about my e-book, Beyond Nuno here, thanks :)


Friday, 19 April 2013

Coppery Bronze Felt

I hadn't handmade any new felt for a few months until this week. I knew I'd have a spare couple of days for doing layouts and felting, so I went through my supplies and got a few things together. I wanted to make a texturey piece in coppers bronzes and metallic tones, so I chose some commercial art yarns, ribbon, silk tops and silk throwsters waste in those shades:


I also looked through my organza and found a few different gold shades:


I mainly used a shade of Merino from World of Wool called 'Rust', but used a few other shades and blends as well so it wasn't too 'flat'. I really like the way it turned out.


I can't resist a couple of Supermacro close ups of the texture  :)


This is one of the organza pieces.


Another piece I felted yesterday was a nuno felted piece for Ann's challenge on The Felting and Fiber Studio site. I found a quite gaudy vintage pink synthetic headscarf in my supplies and thought I'd make a piece using that. The weather was great yesterday: storm clouds, lightning, thunder, hailstone, but it kept going too dark to take good photos so here's a sneaky peek at some close ups and I'll post the whole piece soon. Ripples:


Ruffles:


If you've joined in with Ann's challenge or would like to, post a link to your work in reply to the challenge post or if you have a flickr account, tag your photo with 'felting and fiber studio challenge' and add it to the flickr group, it will show up on the Studio site's main page.

Wednesday, 23 January 2013

Finishing Projects

I’ve been trying hard with Ruth’s Daily Dose of Fiber challenge, but so far that mostly consists of me rewriting the same list each day :)    I have managed to complete a few projects recently though. The first one was a small shoulder bag I started a while ago when I was using my felt offcuts. I think these kinds of bags are known as ‘passport bags’, it’s big enough to fit a camera and coin purse in. I had some nice fabric that I salvaged from a worn out camera bag, so I used this on the inside flap. It might look familiar because I took photos of the magnetic closures for a post not so long ago.
 
I covered over the tops of the magnetic closures with felt--craft felt on the inside and a nuno felt offcut for the front, before sewing the sides together--that’s usually something I’d forget to do! 


Once it was all sewn up, I finished around the edges with blanket stitch in the same maroon colour I’d used for sewing. Another project I finished recently was a felt placemat. I made the felt sometime last year and used a piece to make a mirror case, and cut out the placemat, but I never got around to blanket stitching the edges, so one day last week when there was about 30 minutes of light, I finished it off.


The last project I managed to complete this week was a set of two coasters for by the kettle. I used a plain piece of felt and cut an 11 x 7 inch rectangle, and a square roughly 6 x 6 inches. I zig-zag stitched around the edges then did random straight stitching, first one way, then the other. This thickened up the felt and because I wasn’t aiming for neatness, I didn’t need to concentrate hard or strain my eyes :)


My next project is to do a wool and fibre inventory. What have you been working on lately? Have you finished any projects you had waiting for a while? Do you have a list of things you want to work on?

Wednesday, 12 December 2012

Yarny Vessel

A few years ago, I wanted to make a felted vessel for my girlfriend, I had an image in my mind of how I wanted it to be, and I wanted it to be 'perfect', so it took a few attempts, but I was finally happy.


I used two of the practice vessels to make some 'woolly vessels' by needle felting locks onto them. One of them was this white vessel. I needlefelted locks of Angora, Alpaca, Wensleydale, Bluefaced Leicester and Kid Mohair onto it, then put it through the washer to make sure the locks were secure, and because a lot of them were unwashed locks.


Another one I made was this bluey green one, it reminds me of something from under the sea or around the coast. This has dyed locks of Angora, Alpaca, Wensleydale, Devon, Bluefaced Leicester and Kid Mohair. And I used texturey wools like dyed Icelandic and scoured lambswool to secure the locks.


Around the same time, I had the idea for making a really colourful texturey vessel, by needlefelting pieces of handmade yarn and wool twists onto one of my spare practice vessels. I had quite a large stash of handmade yarn and often made wool twists for projects so thought it probably wouldn't take much longer than the other two had. I was wrong! :) It took a lot longer... about 3 years off and on. I probably could have finished it sooner, and I did have phases where I would make up twists and add them, or sit spinning yarn for a few hours then cut it into pieces when it was dry and spend a few hours needling pieces onto the vessel but it never seemed to get any closer to being done! This last weekend, not feeling well enought to tackle my half finished business plan, I decided to try my hardest to finish it. I got out all my left over yarn, stashes of wool blends and a drop spindle and set to work making a big pile of wool twists and a long length of plied yarn to cut up. I also got out my box of very thin felt offcuts and wetted and rubbed some of those to add too. I didn't want to wet the yarn and wait while it hung and dried, so after snipping it into lengths I wet and rubbed one end to 'seal' it and stop it unravelling. After needling all the pieces into the bare parts of the vessel, I finished off around the top, tidying it up and securing the loose fibres. And this is the result:


And then I put it into an old pillow case and put it in the washing machine with a normal load :)  It looked like this:


I unsquashed it and gave it a few shakes and spins, ran my fingers loosely through the twists and yarns (there's a few strips of silk and organza n there too) then sat it on a tub to dry overnight. And this is what it looks like this morning:


I know it's taken me a few years to finish it, but I kind of feel like making another one now! :)

Saturday, 7 July 2012

Book Review: Creating Felt Artwork

Creating Felt Artwork: a step by step guide


This is an excellent, information packed, 60 page, full colour e-book by Rosiepink fibre artists Annie and Lyn. Using one of their own pieces, 'The Meadow' as a guide, they show you a step by step process and give you all the information you need to make your own beautiful, unique felt artwork. There are lots of nice, clear photos throughout, and simple but detailed instructions with lots of excellent tips and advice. Before the main part on how to create your felt wall hanging, there is a great section about finding inspiration, how to interpret your ideas into a design and planning your artwork.

The information in the main step by step guide, is excellent. It starts with a detailed equipment list with lots of hints for using inexpensive items you'd find around the house, and advice about preparing your work area. The instructions for how to lay out the wool for your design are very clear and detailed, and there are lots of photographs to illustrate each stage. There's a very detailed explanation of the whole felting process and valuable information about choosing other fabrics and fibres to add to your design.


The next section teaches you how to enhance and embellish your artwork with simple machine embroidery. This part is packed with information and advice too. There's everything you need to know about stabilising your felt artwork and choosing the right colours and types of thread to work best with your design. There's information about techniques to create the effect you want and how to add detail. This section also has advice about adding hand stitching and how to use machine and hand stitching create effects and texture and also about using other fibres for adding extra texture and detail.


Once you've finished your felt art wall hanging, you'll want to display it. There is a great section on how to back and hang your artwork simply and effectively, with clear instructions and photos. But if you'd like to display your artwork a different way, there is also a separate section on alternate ways to display your artwork and how to care for it.


There's information and tips throughout the book for techniques to help you realise your own design and create your own unique artwork. This includes how to make and use prefelt for more control over your design; how to re-use spare felt in the same way; using yarn and small drafted sections of wool for design, and adding other fabrics and needlefelting to enhance your artwork.


So, what if you've followed all the instructions and you're not happy with the way it turned out, or maybe you made a few sample pieces to try out your colour choices and don't know what to do with them? There's even a section for that, with some great ideas on what to do with spare pieces of felt.

And don't worry if you're an absolute beginner and have never tried felting before, or don't really know what all the felting terms mean, there's a glossary at the end with everything you need to know and an appendix with a complete step by step guide to making felt, with lots of clear photos.


This really is excellent value for money. It's an invaluable source of information and advice about creating beautiful feltwork and enhancing it simply with easy tips and techniques. And the great advantages about being an e-book is you can have it instantly and zoom into the photos for even more detail :)


If you'd like to own a copy visit Annie and Lyn's website http://rosiepink.typepad.co.uk/rosiepink/creating-felt-artwork-ebook.html It's also available on Craftsy http://www.craftsy.com/project/view/Creating-Felt-Artwork/43696