Saturday, 28 September 2013

Mixed Media

This week, I worked on my mixed media pieces for Karen's 3rd Quarter Challenge on the Felting and Fiber Studio Site. The first piece I worked on was the smaller board with lots of folded and creased scrim on. I started by painting the background with some blue shades of acrylic paint.


Then I layered lots of shades of blue and white, then finished with some details of black, white, yellow and red. This is the piece just after I finished, while it was still wet.


And this is it when it is dried. You can't really see the texture in the photo, you might be able to if you click to see it bigger, but I've uploaded it to flickr, so you can see the texture of the scrim and the detail better.


Here's a supermacro of a small part which does show some of the texture:


Often when I work with acrylics, I need to wipe off excess paint, so I keep a spare painting board nearby to wipe the paint on there. It makes a great base for another painting. This isn't really part of the challenge, but I painted it just after the blue piece. It's mostly the same colours, but in different amounts.


 And a supermacro:


 The second piece I worked on was the larger board with 2 layers of scrim. It did turn out the way I'd planned, but didn't look as good as I'd imagined. I painted a light grey in the centre and dark greys around the edges. Then I covered some laser prints of artwork in Golden gel medium and stuck them face down on the surface. When they were dried the next morning, I wet them and carefully rubbed off the backing paper to reveal the prints. I covered in gel medium then painted reds, oranges, yellows and whites around the edges. I don't think I got enough paper off the bottom print. I might carry on working on this, I think it needs something else.


Has anyone else made anything for the challenge? If you post a link, we can add it to the gallery there.

Wednesday, 18 September 2013

Fabric Notebook Cover and Studio Challenge

I've finally made a start on a couple of pieces for Karen's 3rd Quarter Mixed Media Challenge on The Felting and Fiber Studio site. I chose two different types of background, the first one is a 7 x 5 inch art board, I think it is meant for watercolour paints. These are boards with a textured paper surface.


I covered this with Weldbond glue then added some cotton scrim, I added some Golden gel medium and added some more scrim, making creases, gathers and folds. Then I covered it in Gesso.


The next background is hardboard, the same kind of thing pegboard for workshops is made out of. I got some 8 x 6 inch pieces cut years ago for making polymer clay mosaics.


I covered this in Weldbond glue, added a layer of scrim, then glued another layer of scrim on top. I covered this in Gesso too. They are both almost dry, waiting for me to forget to finish them ;)


I finished another fabric collage notebook cover last week. This is a small A6 one. This is the front:


And this is the back:


I used some flowery fabric to line the inside, and used the sewing machine to attach the flaps, then hand-stitched blanket stitch around all the edges.


It's probably not quite as effective as zig-zagging with the machine, but it's helps stop the fabric fraying.

Saturday, 7 September 2013

Fabric Collage Notebook Cover

I had 3 more pieces to finish before I could put my sewing stuff away. They are all notebook covers made from fabric collage pieces I made a few years ago. I thought it was a waste to have them all rolled up and put on a shelf out of the way. I managed to get the parts that needed to be machine stitched all sewn up, and now I just need to finish off the edges by hand. I did finish one yesterday. It was from a collage of autumnal rusty colours. It's mostly fabric, but has some art yarns sewn in too. I used some braid and delrin clips to make a closure.


This is the back:


I had a really nice fabric piece that I'd used as part of the collage piece and used this for lining to hide all the stitches:


I thought I'd have a few pictures of the other part finished pieces, but it's been raining and been really dark, but they were made from multi coloured collages. Hopefully they'll be finished over the weekend, but here's a supermacro just because :)


Saturday, 31 August 2013

Something Different

I'm still trying to finish projects and WIPs so I can tidy my summer sewing stuff away. I found an unfinished project from years ago when I was putting some felt offcuts away. Hopefully, this link will show some of the pieces I made, if not search my photostream for 'embellished'. It inspired me to finish it off and make some more. So I had a rummage through my offcuts and found lots of nice ones, so many that I started to think that maybe I wanted to do something a bit bigger, like a notebook cover (surprise, surprise!). I found some thin pieces of felt to use as a base and sewed them together. I really wanted to make something the complete opposite of the carefully measured and carefully and neatly sewn notebook covers I usually make. So after spreading all the felt offcuts out, I got some contrasting sewing thread and set to work attaching the pieces to my felt base. I didn't expect it to take as long as it did and I got through quite a few episodes of Foyle's War while I sewed :)

When I'd attached all the pieces, I attached a piece of thin blue cotton fabric to hide all the stitching and thread. Then I folded the flaps in, machine stitched them in place, then hand stitched the top and bottom edges. I think you'll agree, that it's nothing like what I usually make :)  This is the front:


And this is the back:


I tried hard to make sure nothing matched, and that it wasn't too neat or even, including the top and bottom edges, I just followed the edges of the base felt. This is the cover opened out:


I didn't attach felt pieces to the base where the flaps would be, I didn't want it to be too thick. The felt I used for the flaps was originally white merino and cotton which I experimented on with direct dyeing.


I also made a strap closure for it in much the same way as I made the book:


It just fits around the book and clips together with a Delrin clip.


I thought it'd stick out like  a sore thumb in my etsy shop, but surprisingly it doesn't. But maybe that's because it probably has a little offcut from almost every other piece in there with it!

Sunday, 25 August 2013

Notebook Covers

This first notebook cover that I finished this week took ages to make. My temperamental sewing machine keeps refusing to catch the bobbin thread with the needle. Occasionally I can force it to, then it runs for a while, then I go to turn the piece I'm working on and realise it was just making sewing noises and everything I thought I'd just sewn is loose :(   I kept going back to this until it was finished, then put the machine away so it can't annoy me anymore. I had a collection of felt pieces I'd made with natural coloured wools and plant fibres. None of them were big enough for notebook covers and either too thick or too thin for coin purses, so I thought I'd make a few natural coloured collage notebook covers. Or just one as it turned out. I used some unbleached calico as the backing fabric to sew the pieces onto. I really like the way this turned out. This is the front:


Some of the grey pieces are from a piece of felt I made for Karen's Weather Challenge on the Felting and Fiber Studio site, using grey Gotland Locks for rolling clouds. This is the back:


I machine stitched the top edges together, then finished off the edges and the flaps with some grey/brown thread I spun myself. It was quite chunky for a thinnish thread, but I like the way it looks.


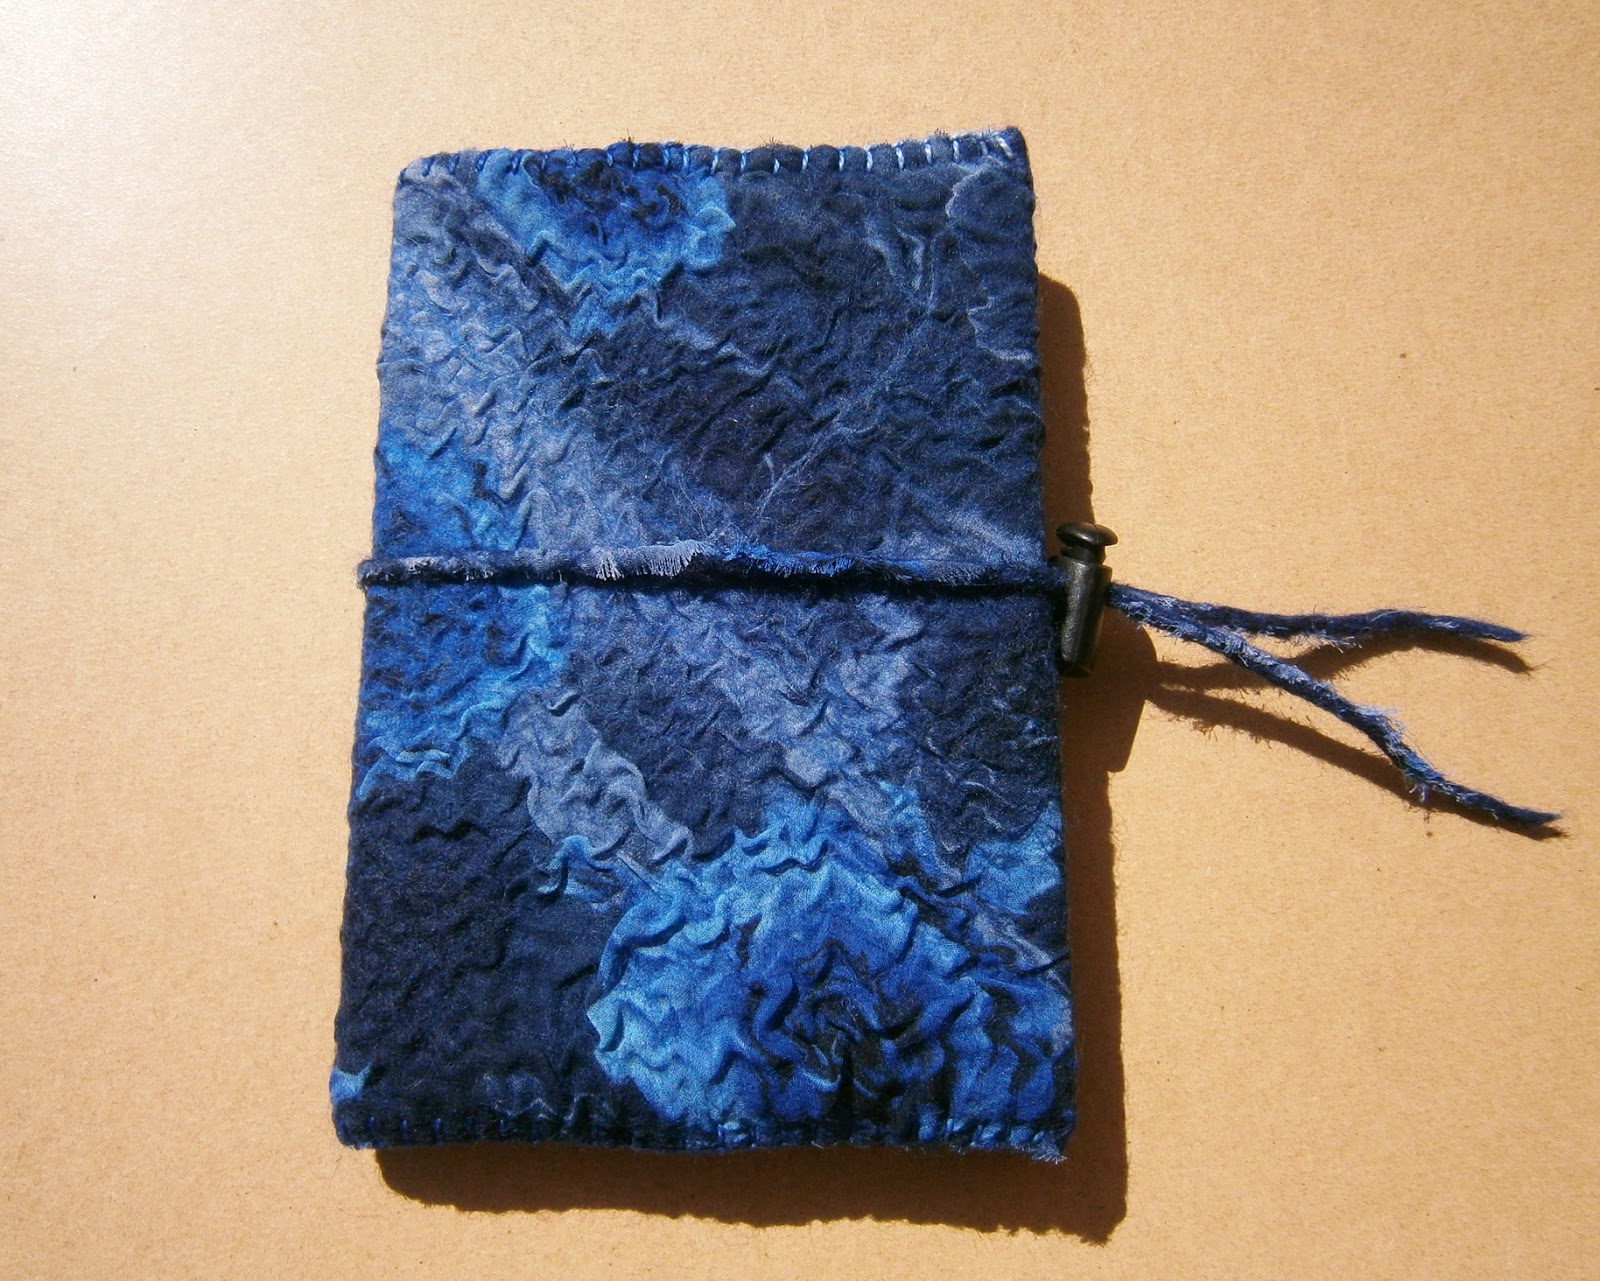
This next notebook cover is probably the nicest one I've ever made. I used a piece of nuno felt that I made for my Beyond Nuno book. It has some gorgeous flowery blue synthetic fabric nuno felted onto merino tops. I made a little tie for the front from an offcut of the nuno felt. I cut a strip about 8-10mm wide and wet it with soapy water and rolled between my palms until it formed a cord. I used a spring toggle as the fastener. This is the front:


This is the back:


I really love the colours and the way the fabric rippled so nicely.


SuperMacro texture close up:


I'm getting better at letting things go and listing them on etsy, but if this doesn't sell before the listing expires, I'm keeping it!

Wednesday, 21 August 2013

Eco Printing Onto a Silk Chiffon Scarf by Terriea Kwong

Over on The Felting and Fiber Studio today we have a great tutorial written for us by guest writer Terriea Kwong. Terriea gets amazing results using plants like Eucalyptus, Rose and Maple to colour and print onto fabrics like silk and wool. Click here for the post and click here for Terriea's blog :)


Saturday, 17 August 2013

Finished Pieces

I'm still going through some unfinished projects at the moment, mostly blanket stitching, hand-sewing buttonholes and fighting with my machine :) I used one of the pieces of felt I'd made for the Australia Challenge on The Felting and Fiber Studio site to make a glasses case. I lined it with some orange cotton fabric and stitched around the edge with the machine before blanket stitching. Side one:


Side Two:


Earlier this year, when I made my coppery bronze felt, I had some pieces of commercial art yarn left over. I made a couple of small pieces of felt to use the pieces up. One of them just had pieces as embellishment just below the top layer of merino  and they extended out of the sides. For texture on the top of other piece, I made twists of merino and yarn. The felt pieces didn't look big enough or thick enough to make anything practical out of them, they weren't even the same size, so I thought it wouldn't be a waste to sew them together to make a funky camera case. It turned out better than I expected really :)


I used the piece made with twists as the back as it was smaller.


I did manage to finish off another purse that I started a while ago, another one made from felt and silk paper. I kept the natural edges for the front flap:


I was glad the felt piece was big enough to use the same felt for the inside pockets, I know only a little part of the back one is seen, but I think it'd look wrong with a plain piece.


If you go over to the Felting and Fiber Studio, we now have a 'Community' section to the website. If you hover over the tab, you can see from the drop down menu that we have pages for the Studio Challenges where you can find links to the original challenges, and also gallery sub pages to see all the art work created for the challenges from everyone who took part. If we've missed you off, we do apologise, there were quite a lot of posts here and on the forum to go through to find them. Send us a message via the Contact Us page if you want us to add your entry. Feel free to use the challenges at any time, they're great for for inspiration. There are also pages for finding links to interviews with guest artists and suppliers and also articles by guest writers. We have a really great article coming up this week from Terrie Kwong showing us how she gets her excellent results using plants for eco printing.